The Process
The process begins with the tree ultimately, whether I salvage it or someone else does. I will either mill a log or search for slabs that have already been milled and dried. There are many sawmill operations in the general area that focus on the salvaging of trees and logs and have large equipment to deal with that. They usually are in the business of reselling slabs to the general public and not necessarily interested in using the slabs.
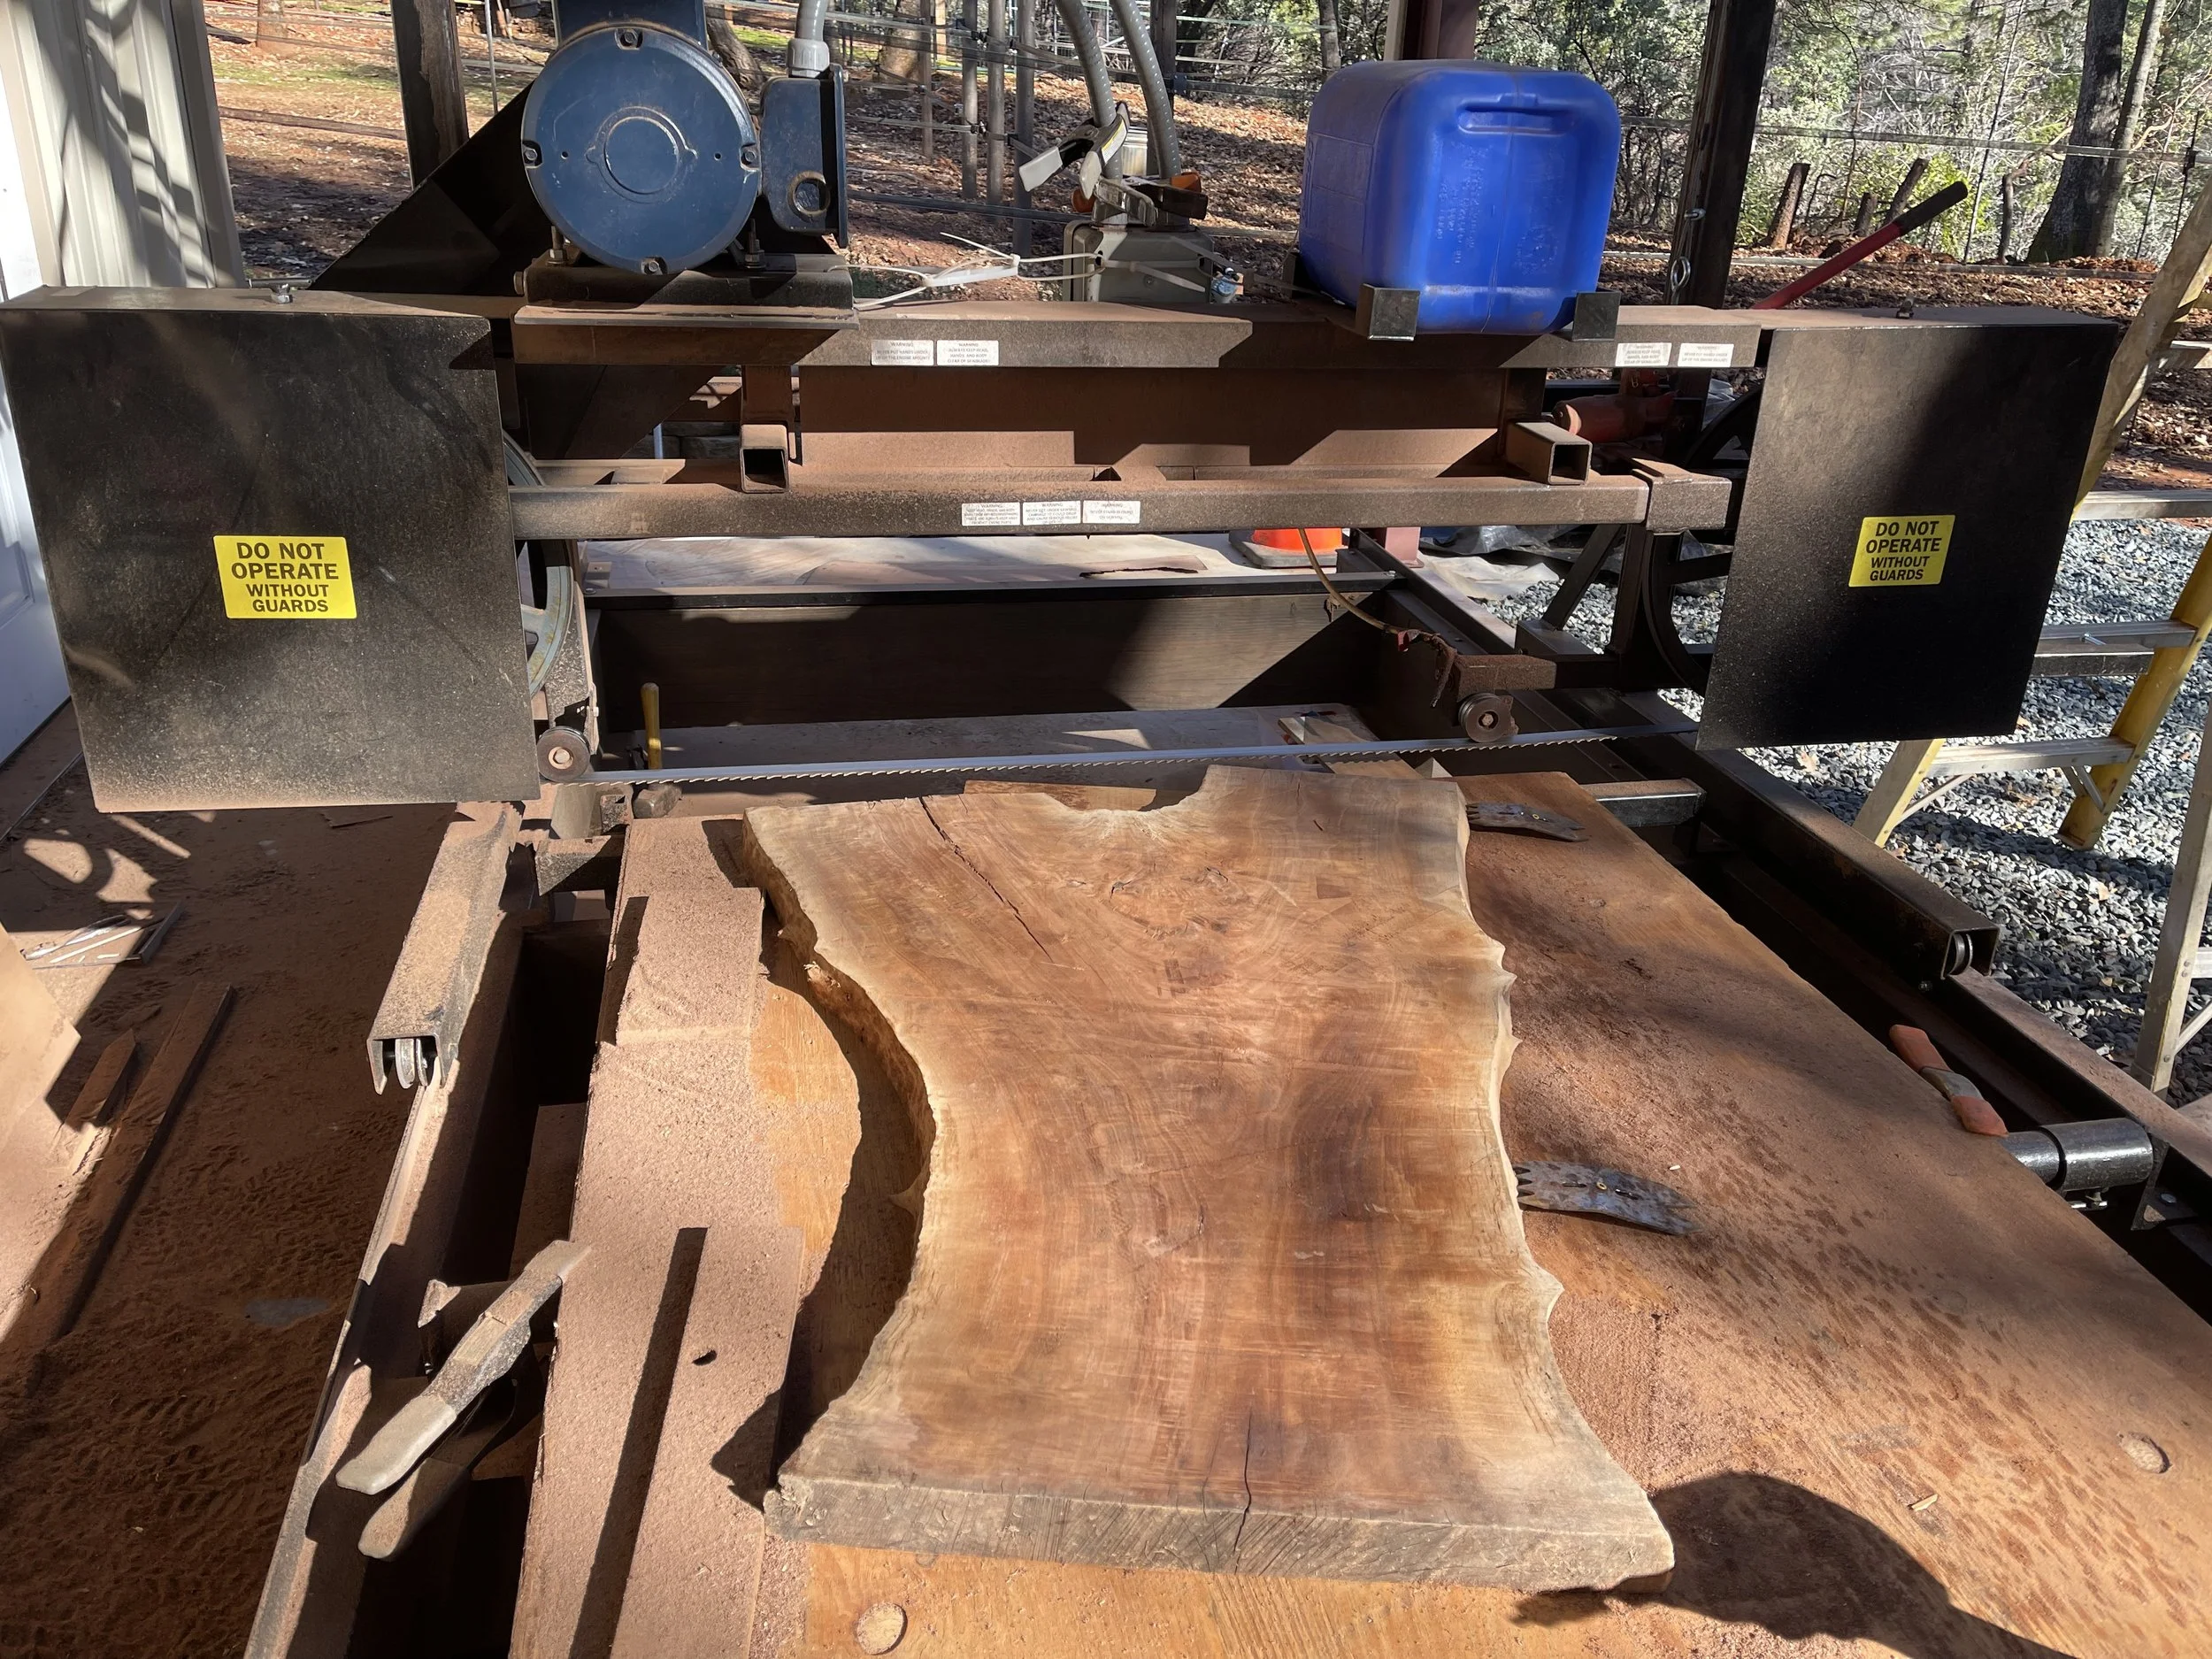

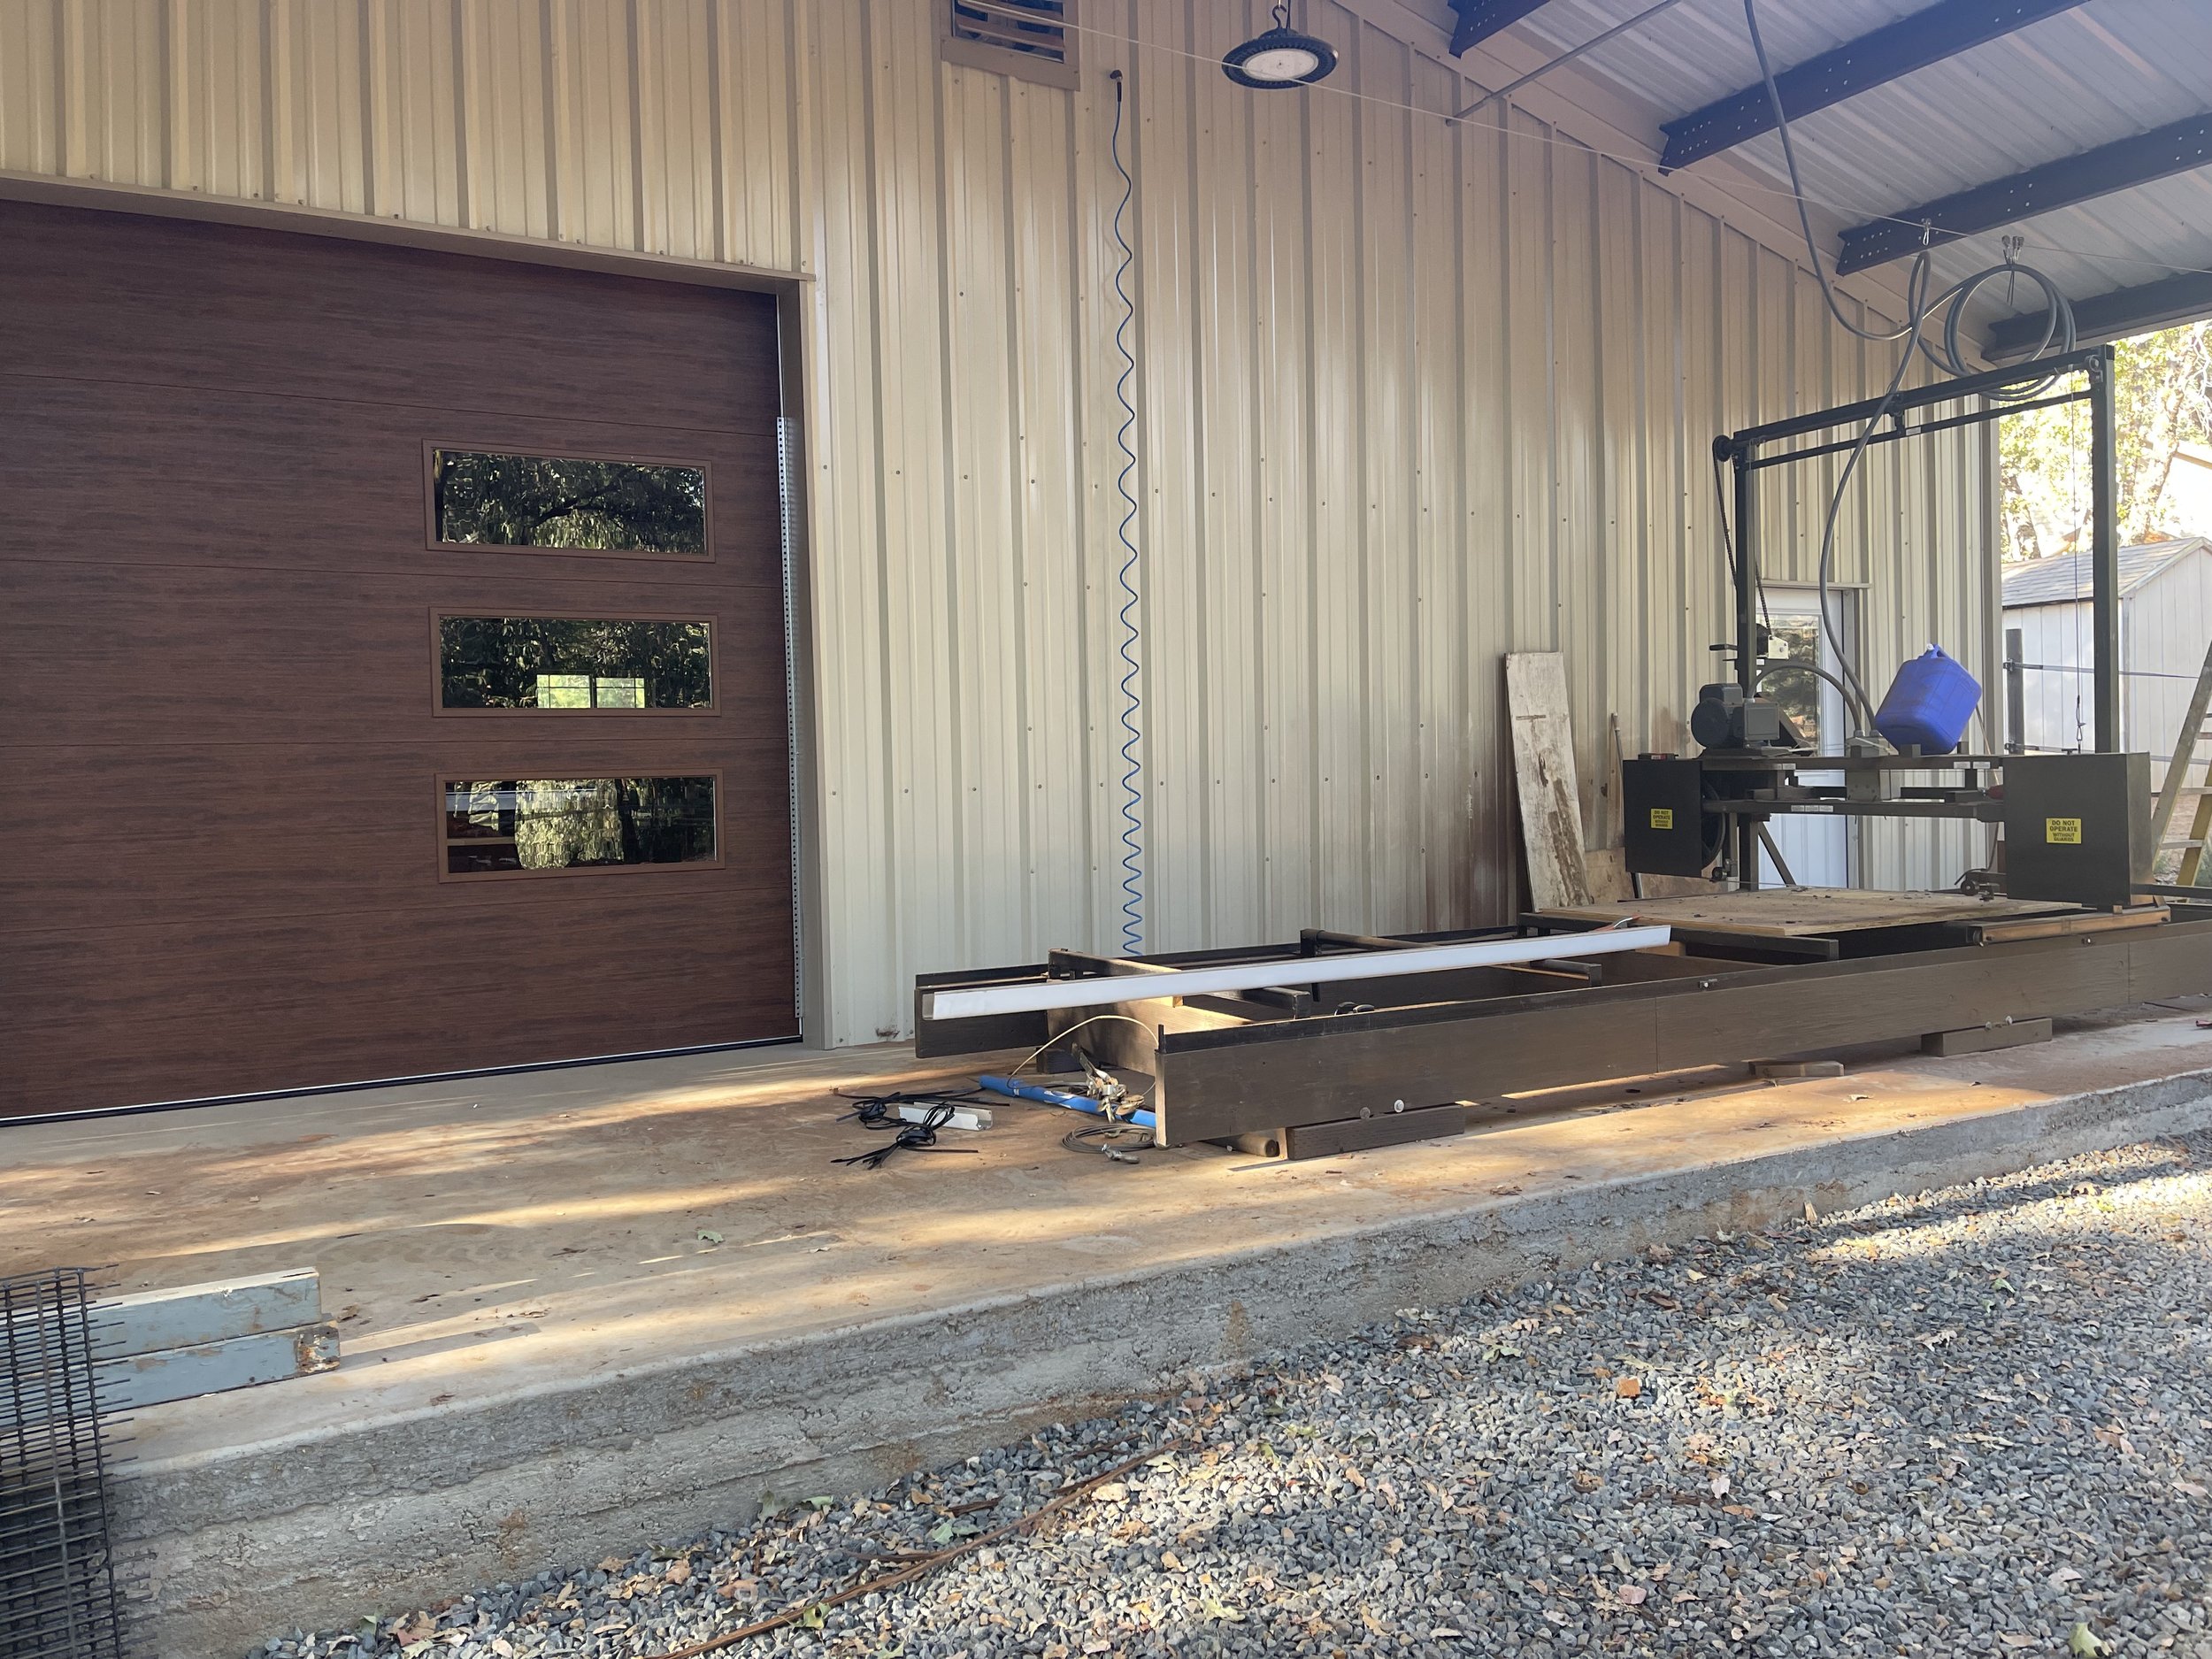
Freshly cut slabs can take years to properly dry and require some extensive work in order to make them flat and straight. Typically they have varying degrees of twisting and checking depending on the species and the manner in which they were dried. Some are kiln dried and others naturally air dried. Usually I will put them on my sawmill which can cut up to 48” wide, and cut the warp out of the slab. This is the most efficient way to conserve material and I also end up with a lot of strange pieces that can be used, although it can be a little challenging to figure out how. Many of these can be used in small side tables, shelves, veneer projects, etc. The milling results in a straight and roughly flat slab with natural edges. At this point I may use it in this form in a coffee table, desk or shelf, or I will cut veneers from it.
A shop sawn veneer like this is usually about an 1/8”-3/16” in thickness which is quite thick for what is usually thought of as a veneer. Factory made veneers are usually around 1/40th of an inch thick and require extremely expensive machinery. Veneers can be used on a flat or curved surface. Since these veneers are quite thick, they don’t bend very well unless they are steam bent. I’m exploring steam bending techniques and have devised a setup to be able to steam bend large pieces in order to be able to do curved panels. Gluing veneers involves some challenging techniques such as vacuum pressing and specific types of glue. Vacuum pressing allows even and very strong pressure for hours at a time.
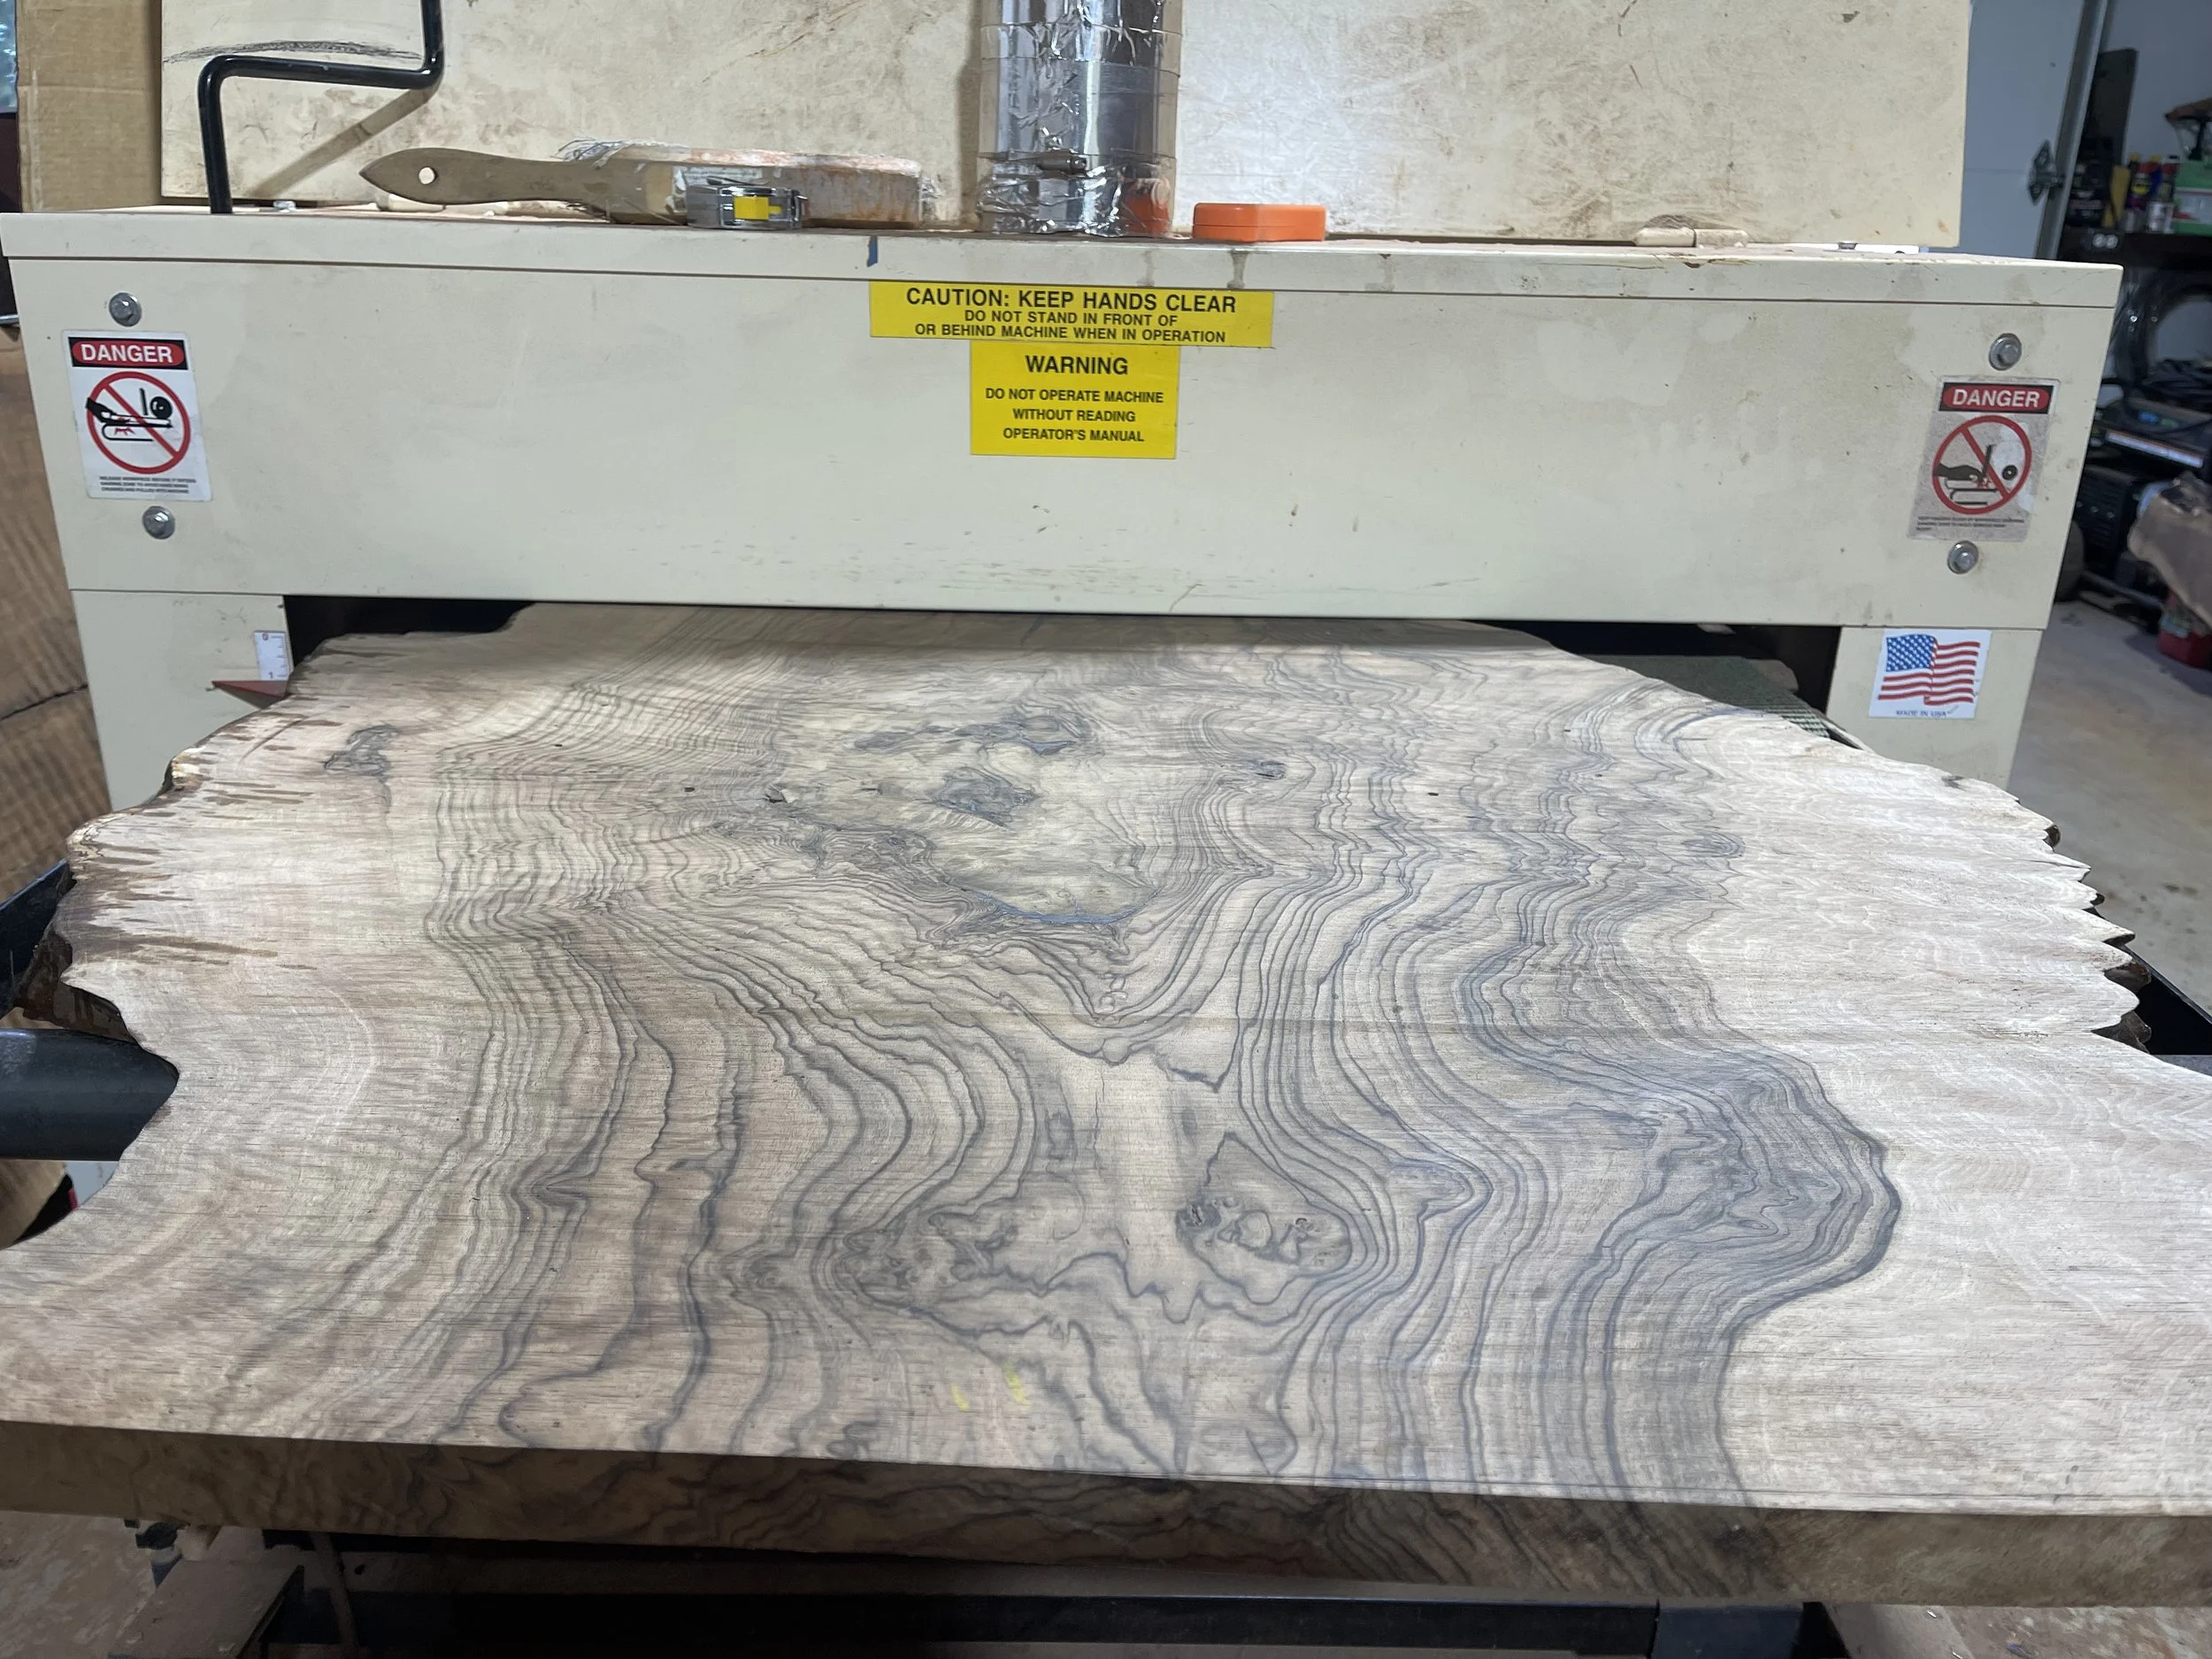
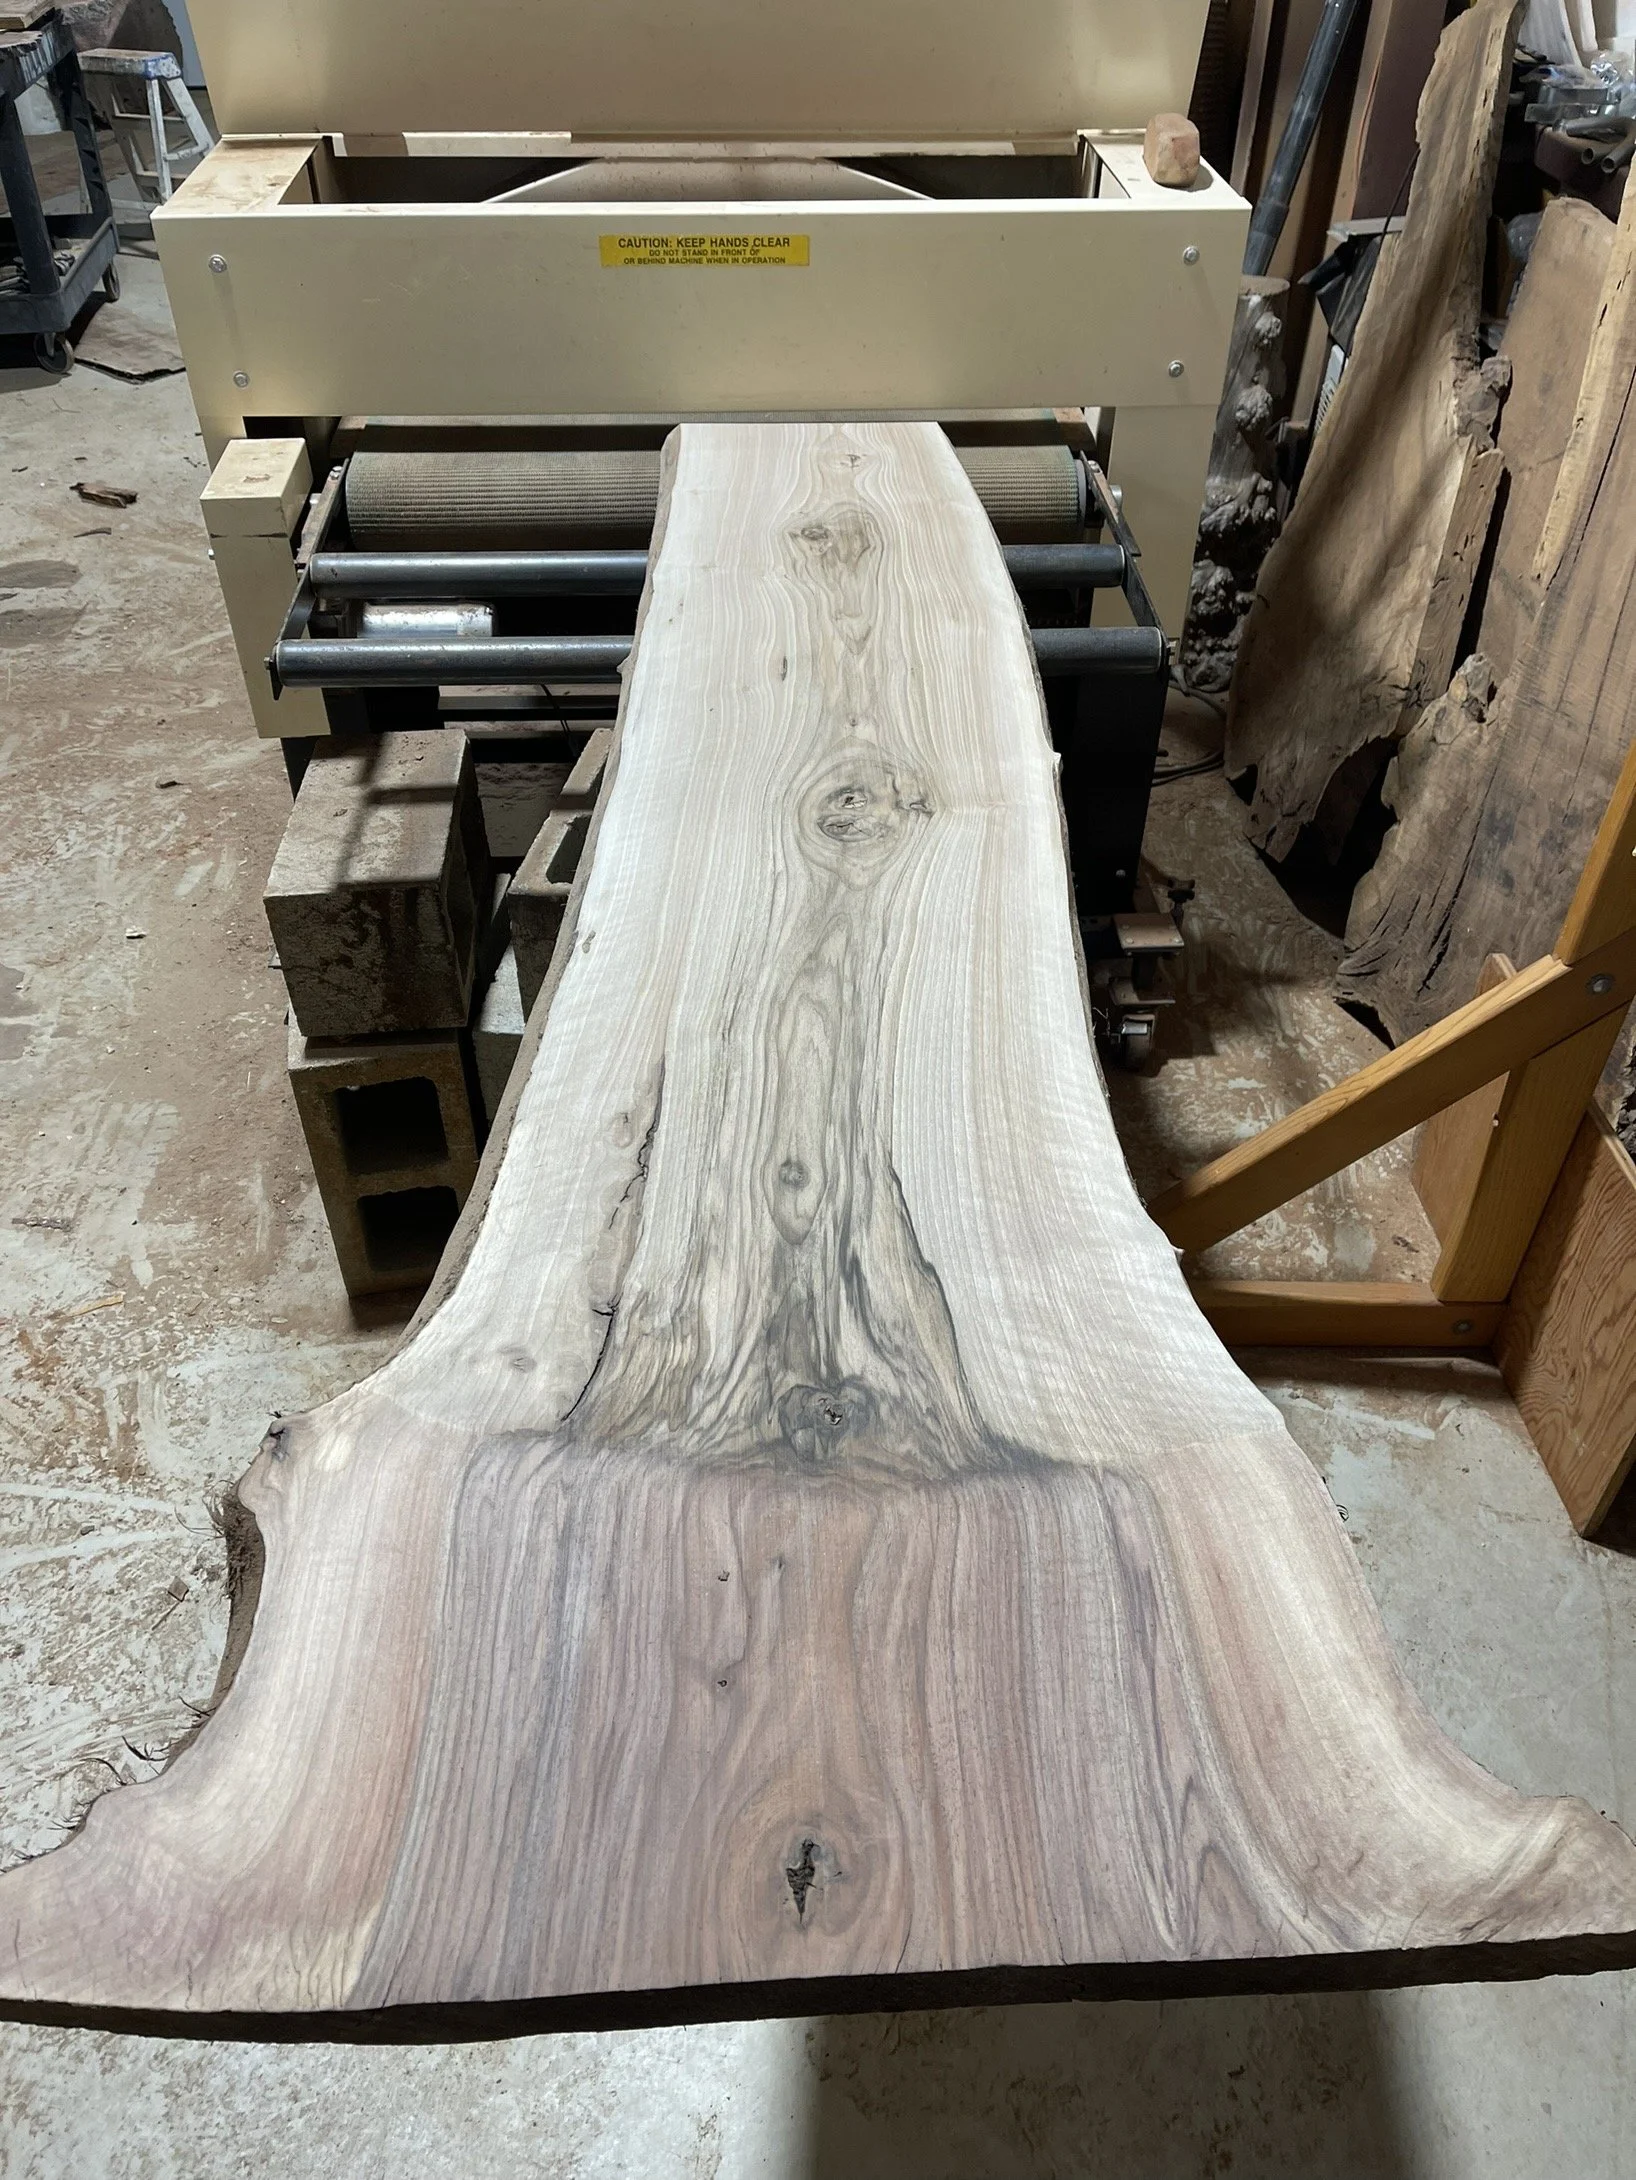
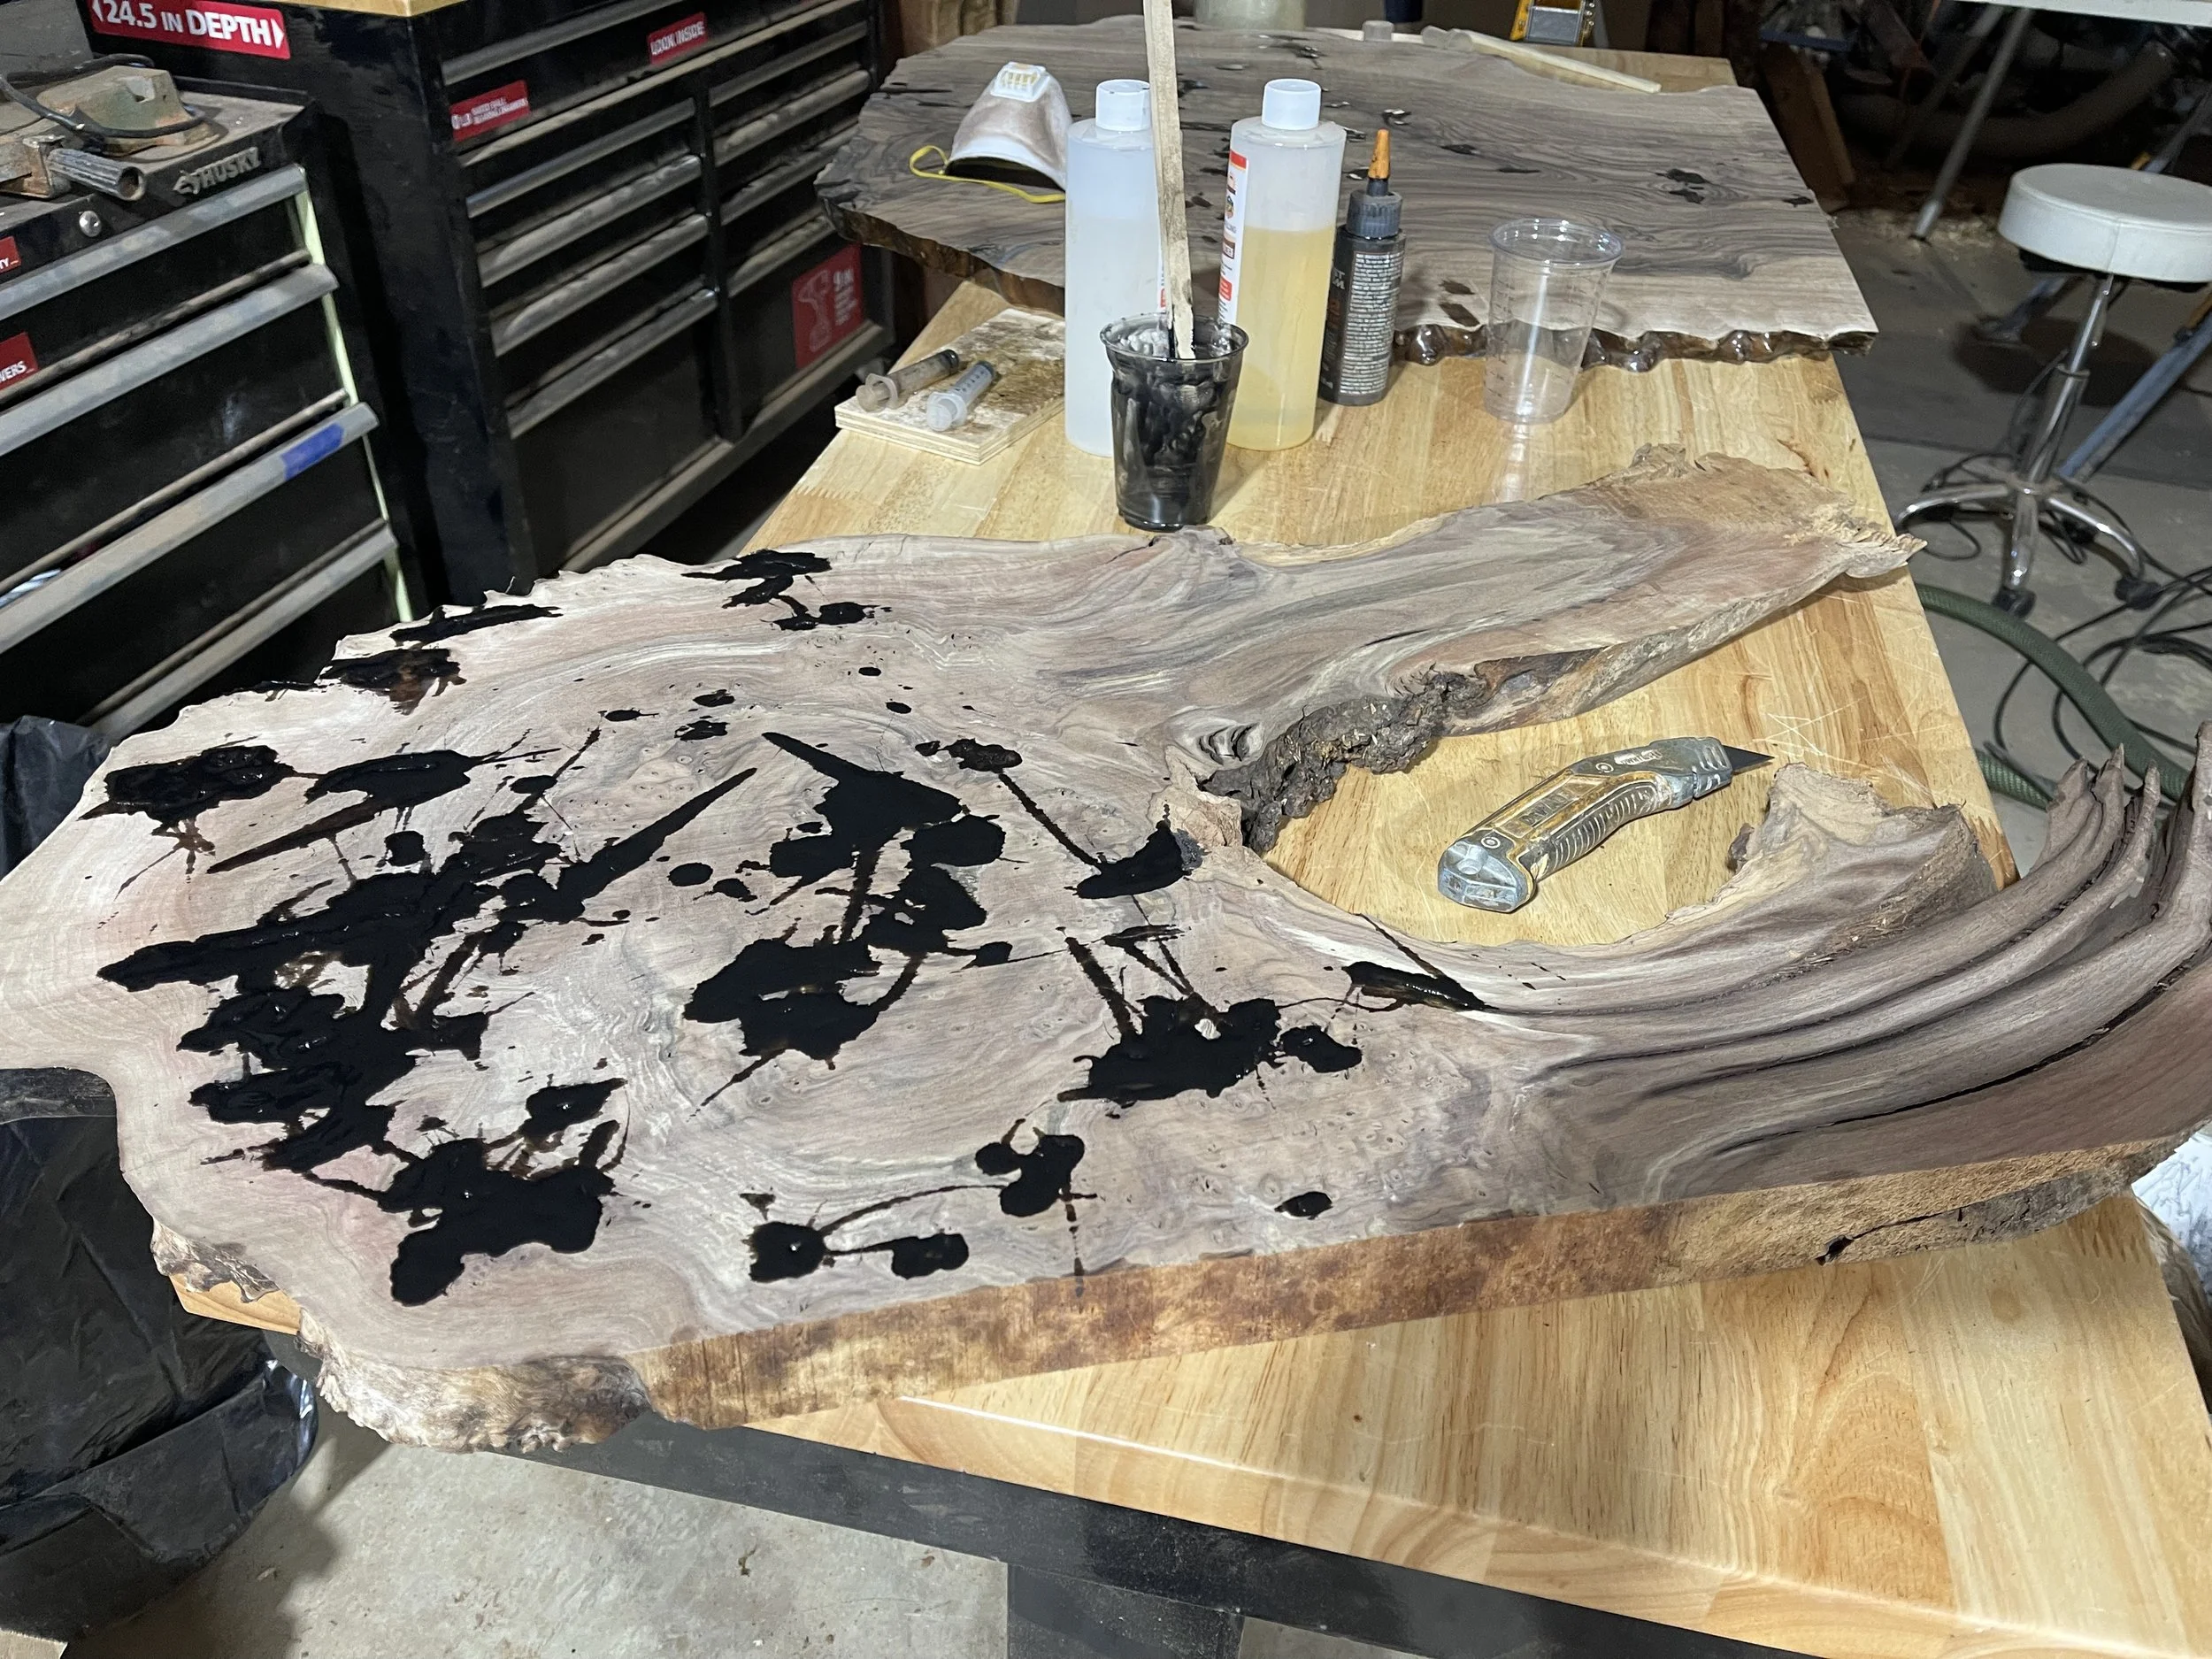
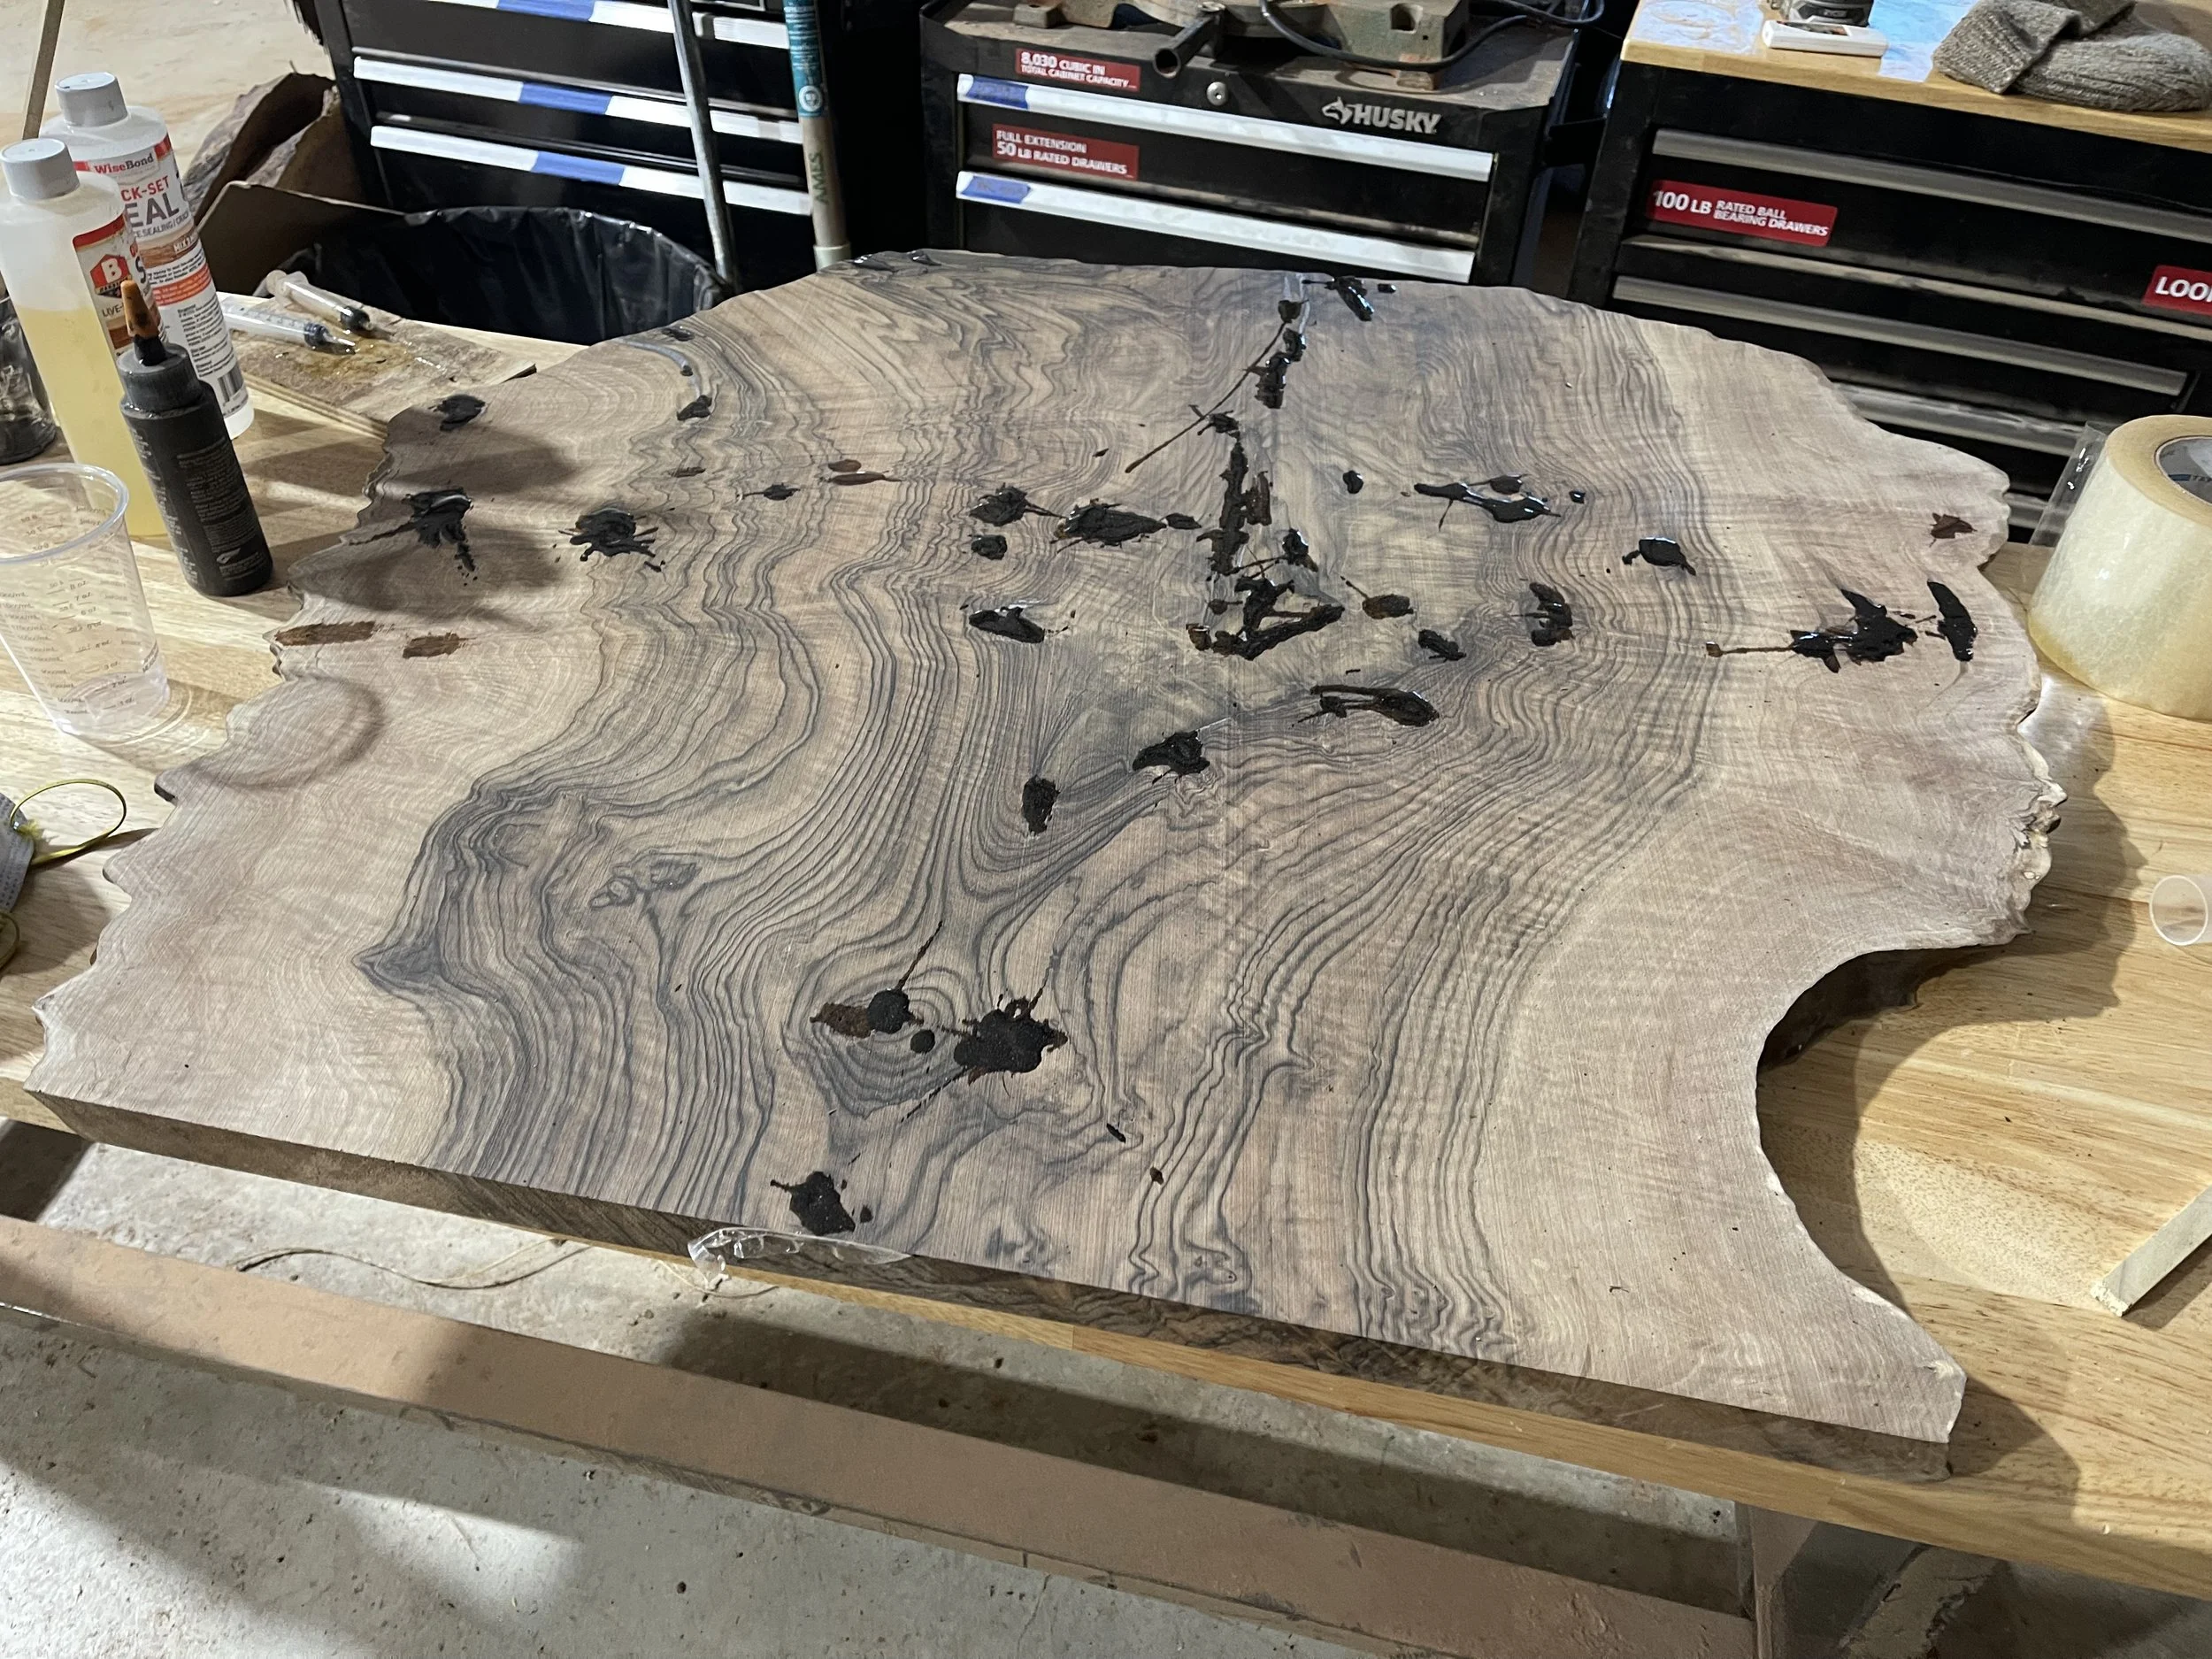
After milling the piece typically goes through a wide drum sander with 60 grit sand paper to smooth out any imperfections and thickness variations. At this point most pieces require some or a lot of epoxy filling to address voids, cracks and rot.
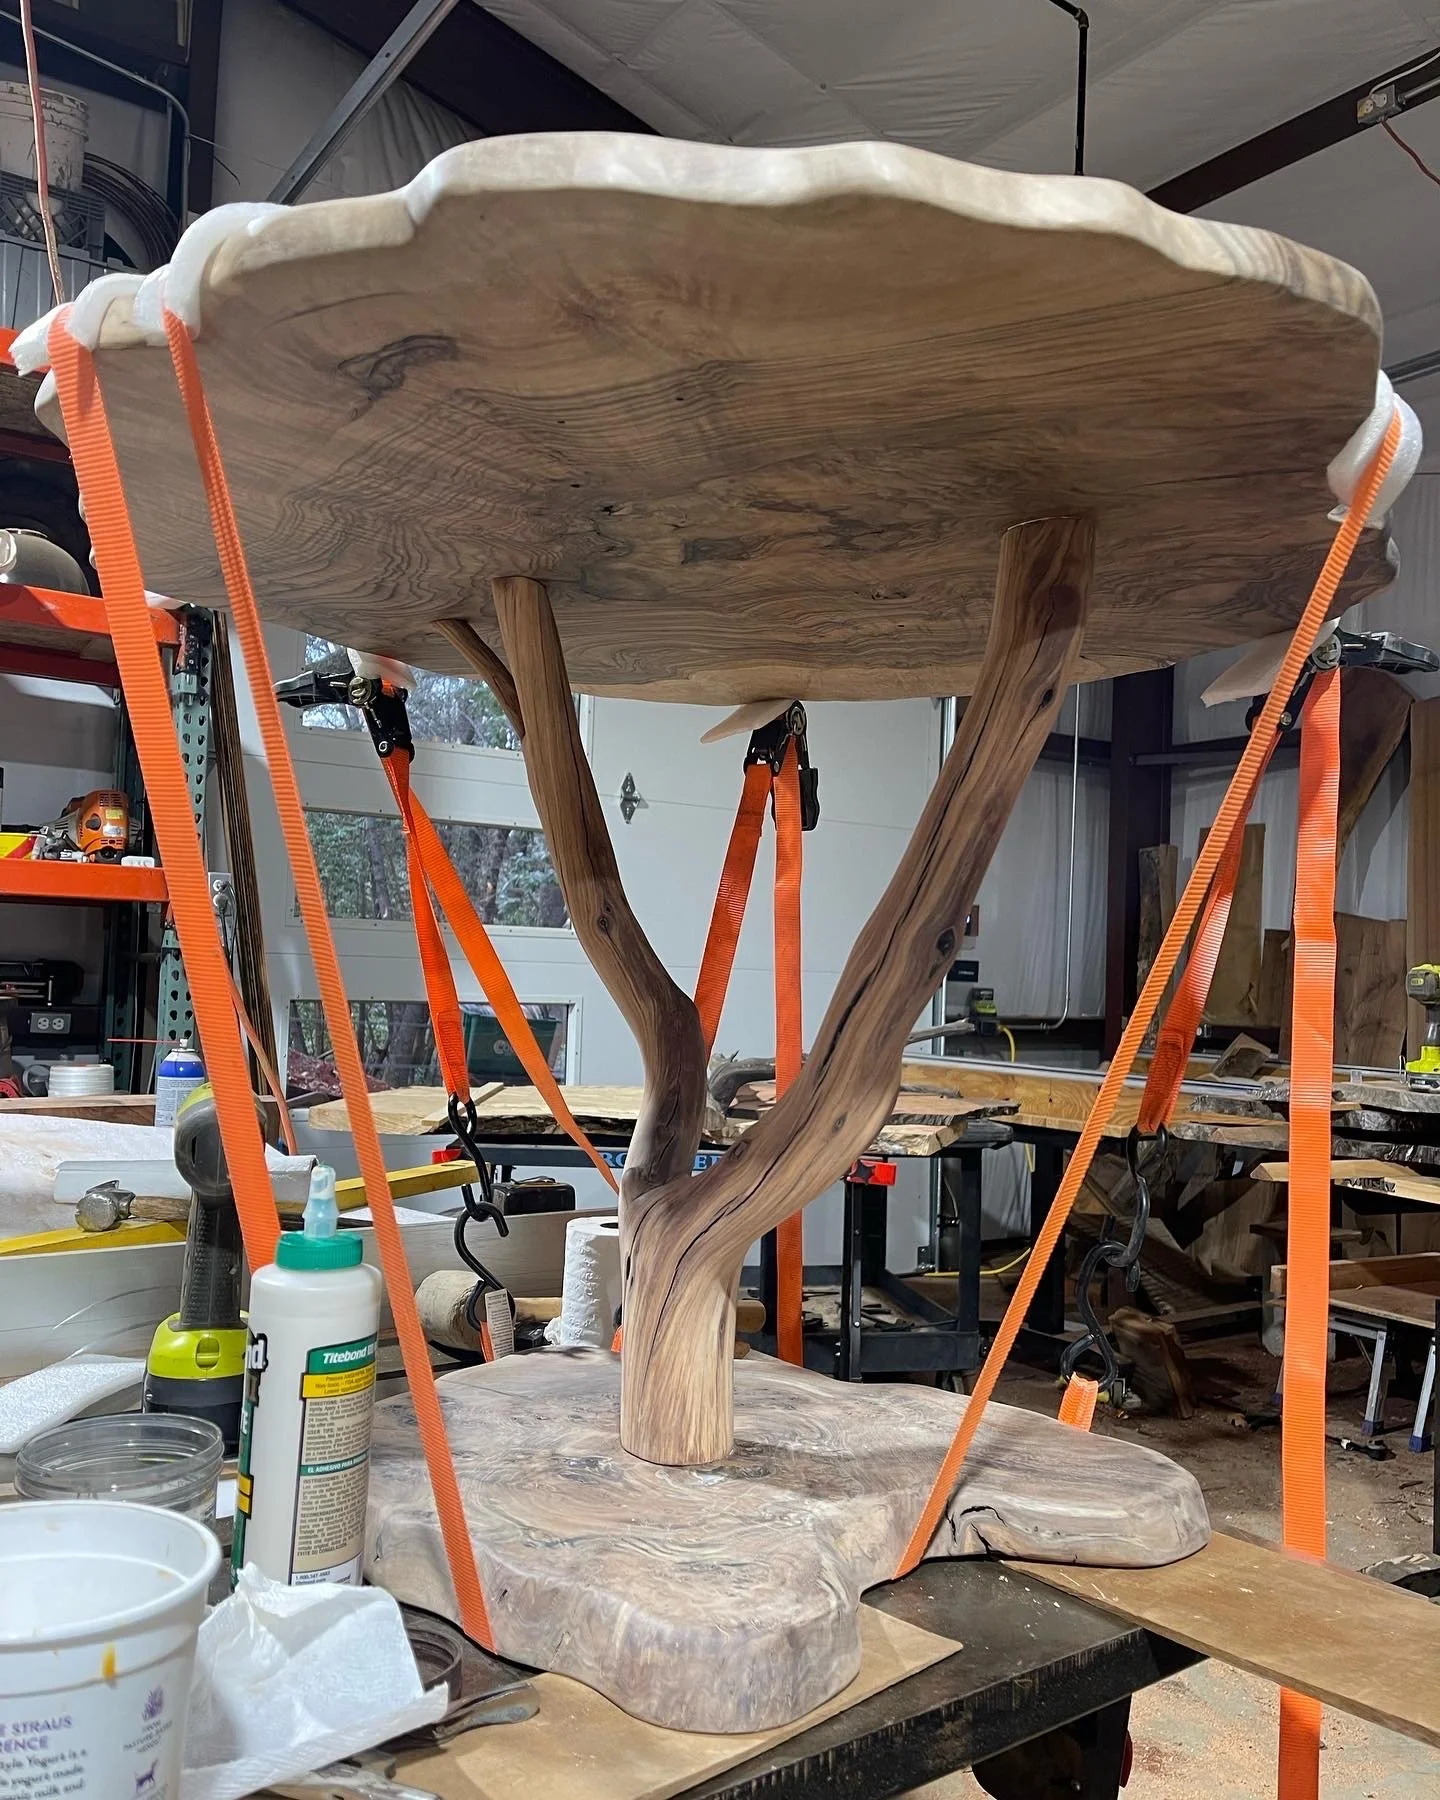
Now the pieces are ready to be shaped and machined and assembled. The gluing and clamping process can be quite complex and varies according to the specific project. Some are clamped with regular clamps, sometimes with long ratchet straps and/or in a vacuum bag. There are many different types of glue necessary depending on the project. Some of the more complex ones need more open working time or more rigidity like with veneer work.
Sanding continues through a total of 7 increasingly smoother grits up to 400 grit and sometimes up to 4000 for epoxy fills.
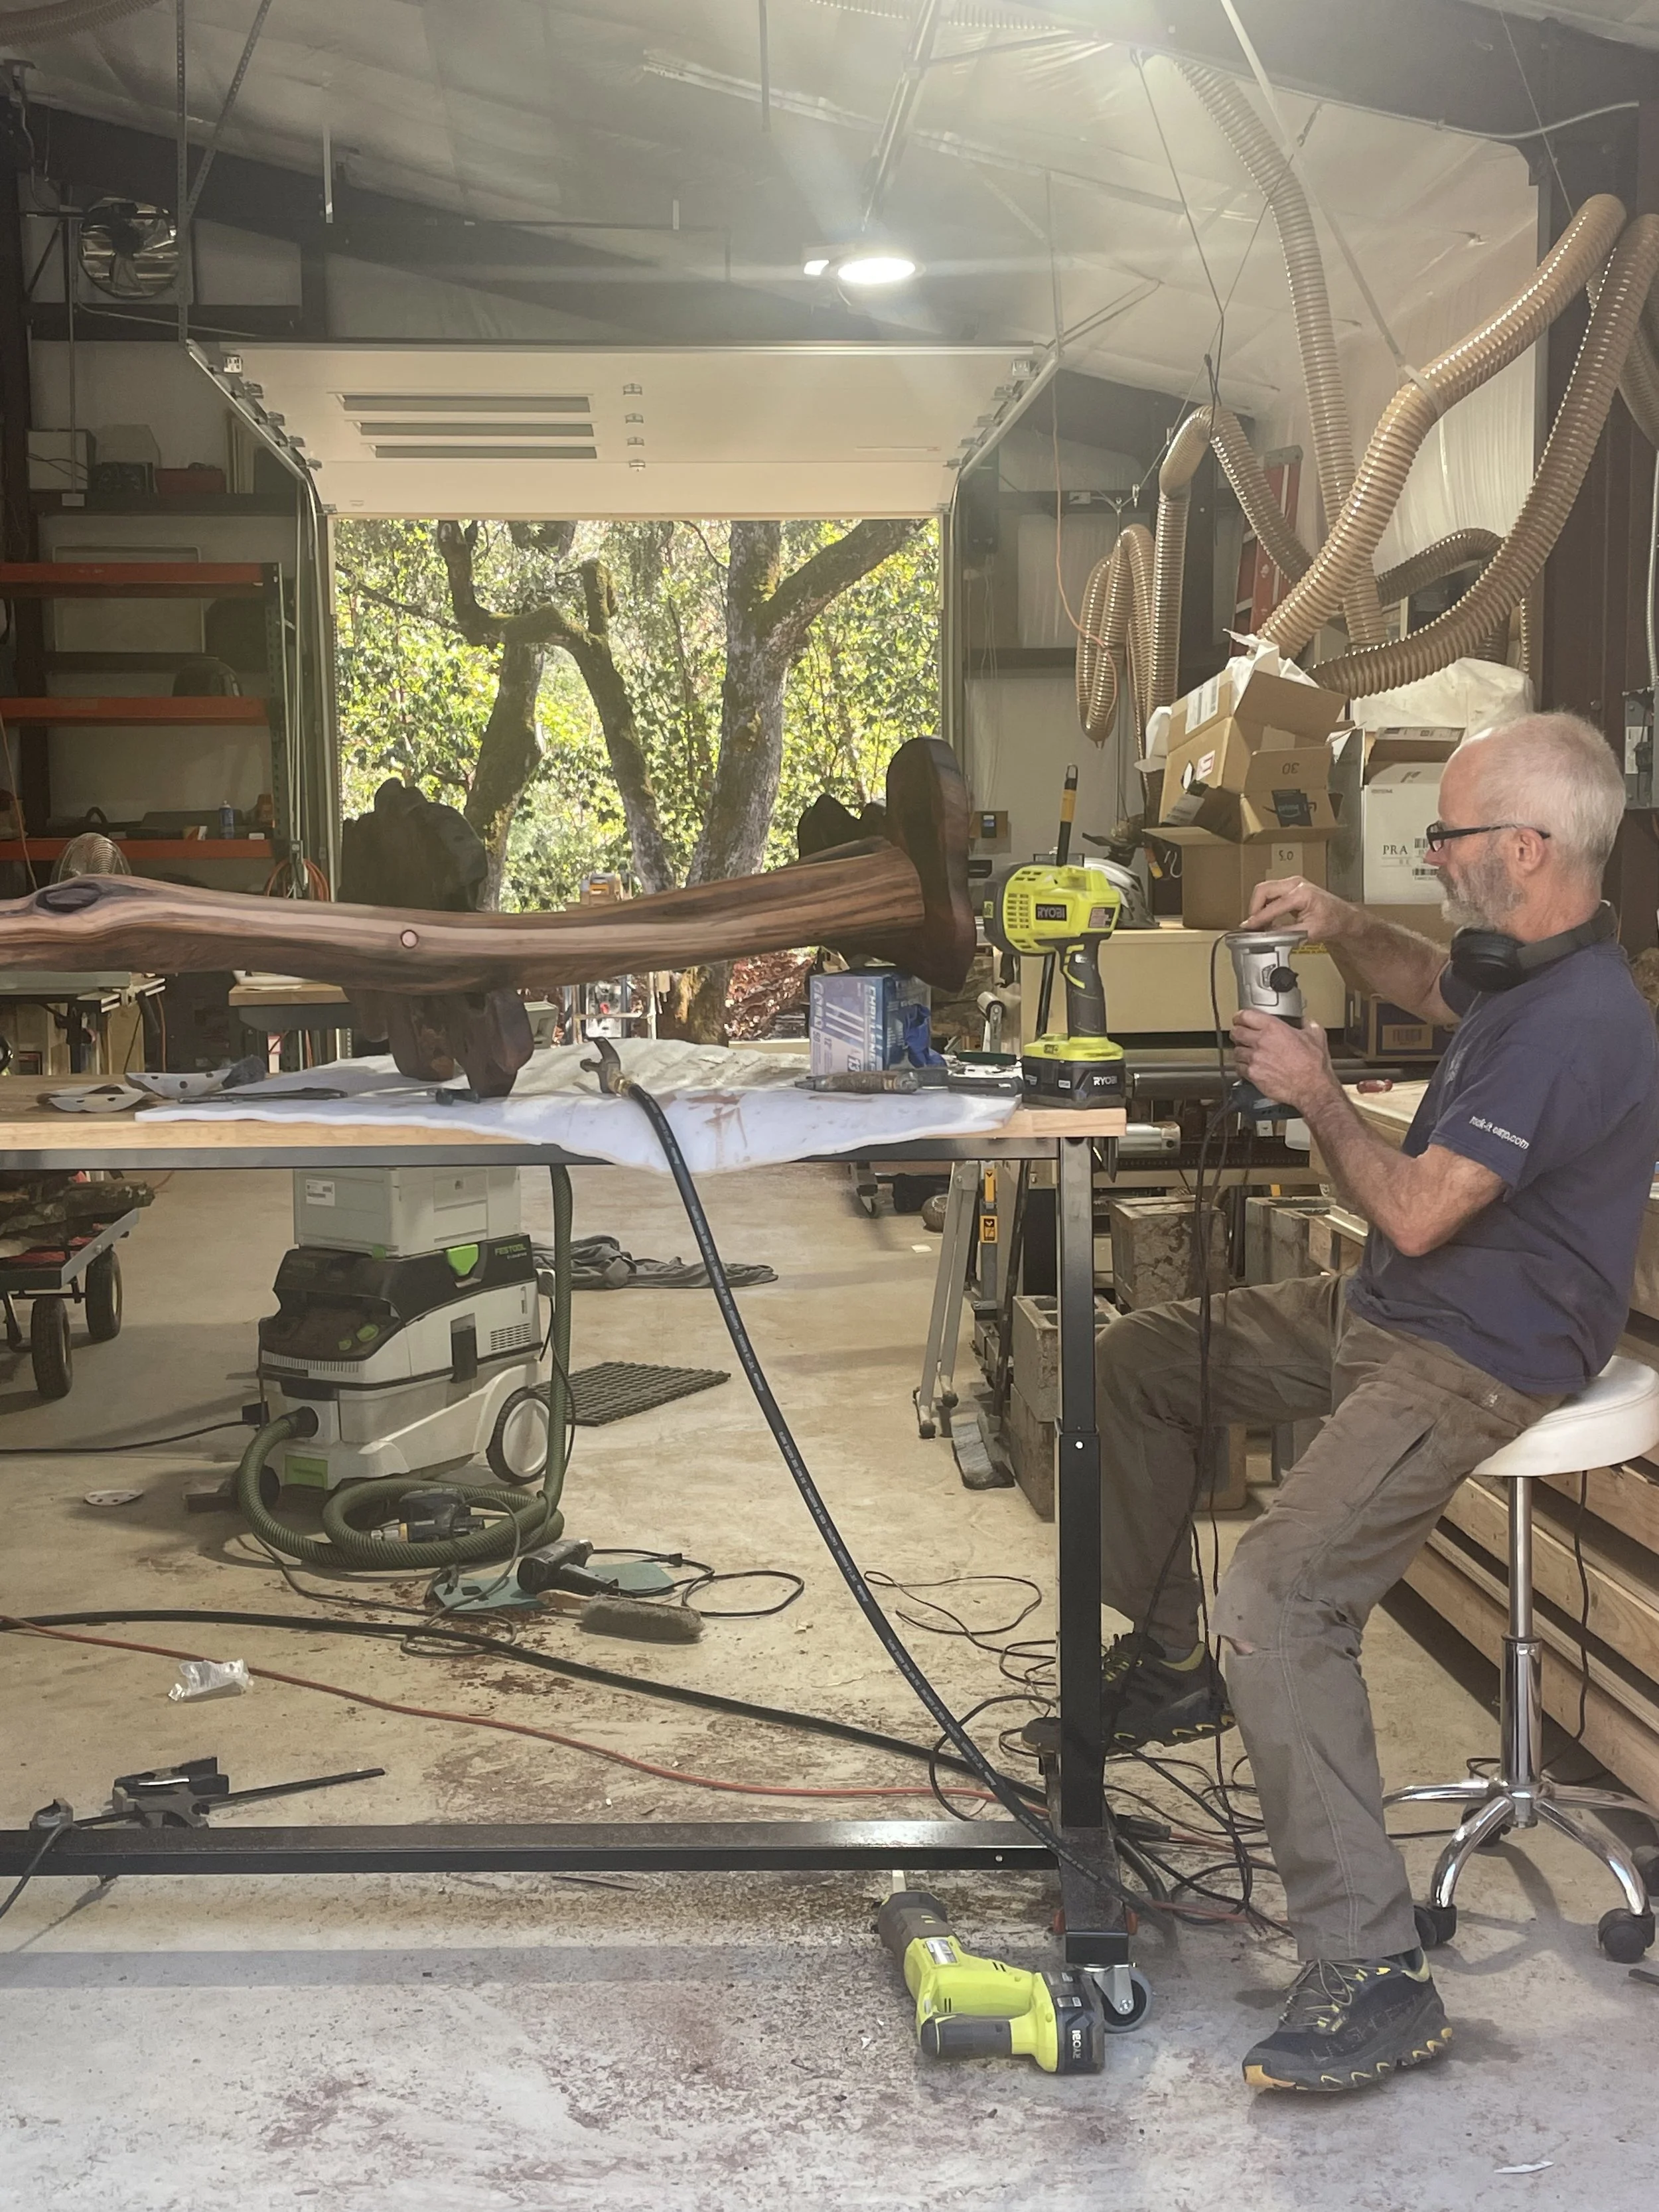
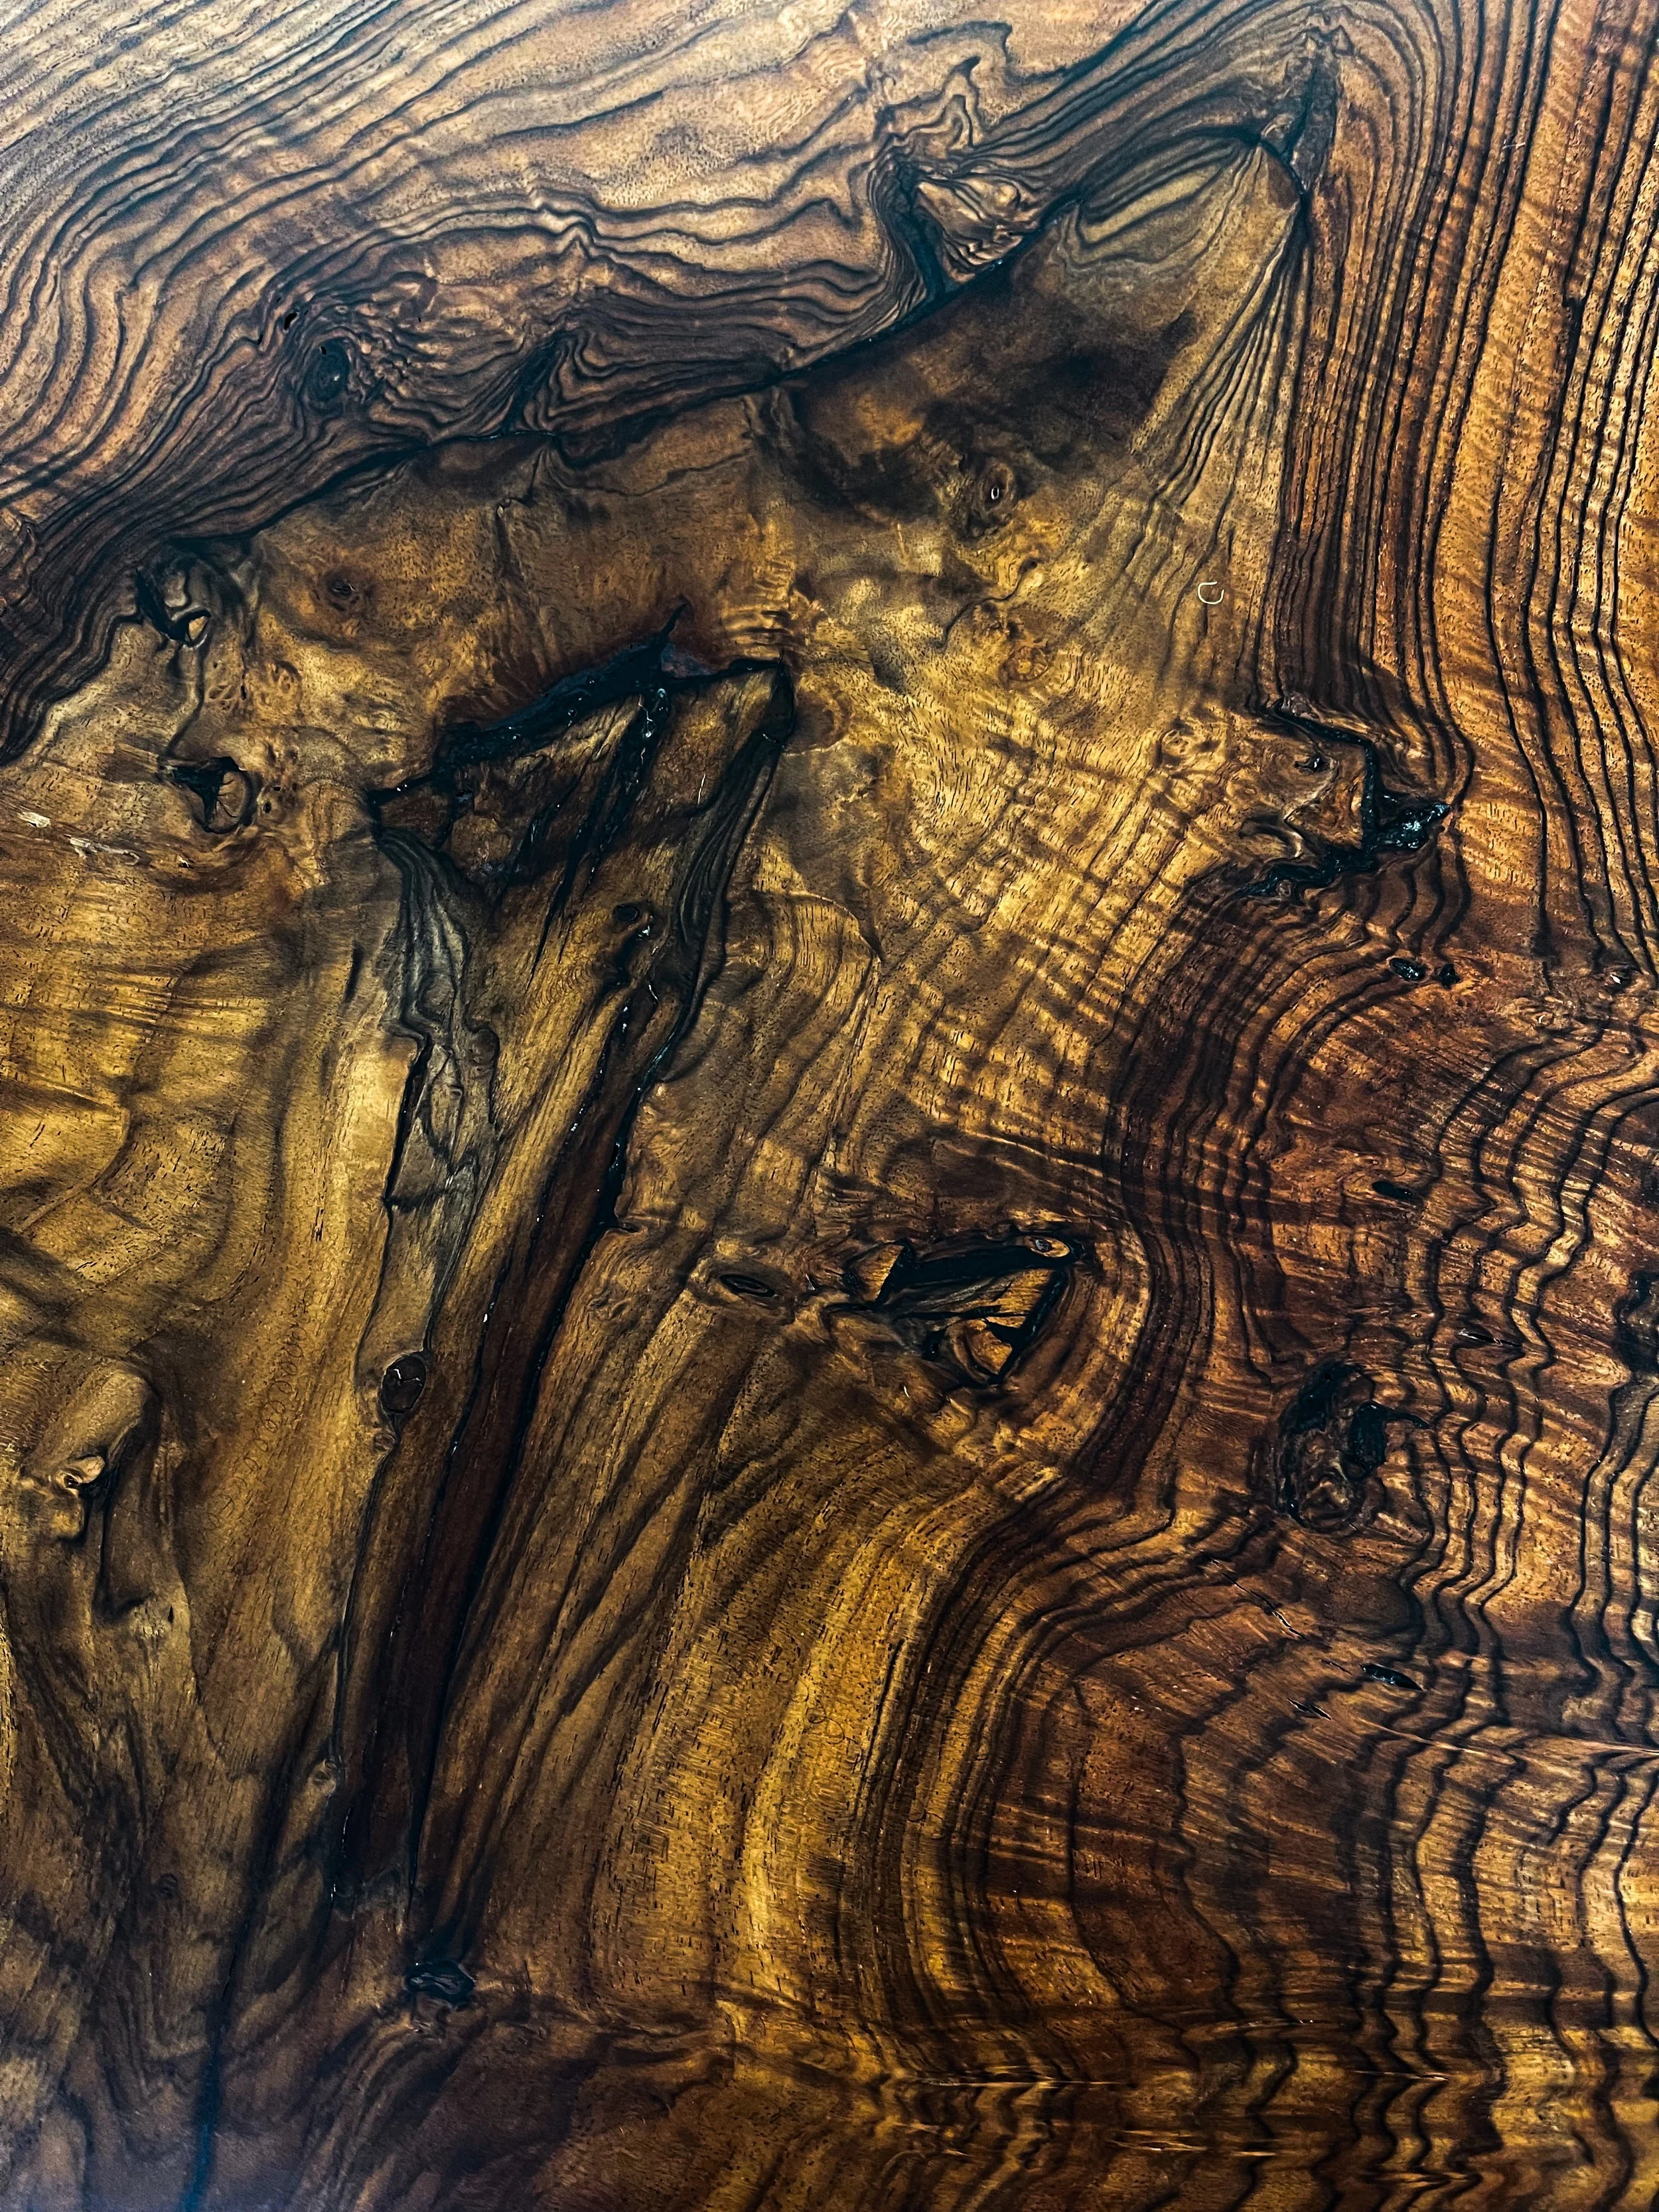
The finishing work involves applying a protective barrier which can be a variety of finishes, such as natural oil which is my preference or polyurethane, lacquer, etc. Every piece of wood is different, and the grain, porosity, or species will dictate which finish is appropriate.
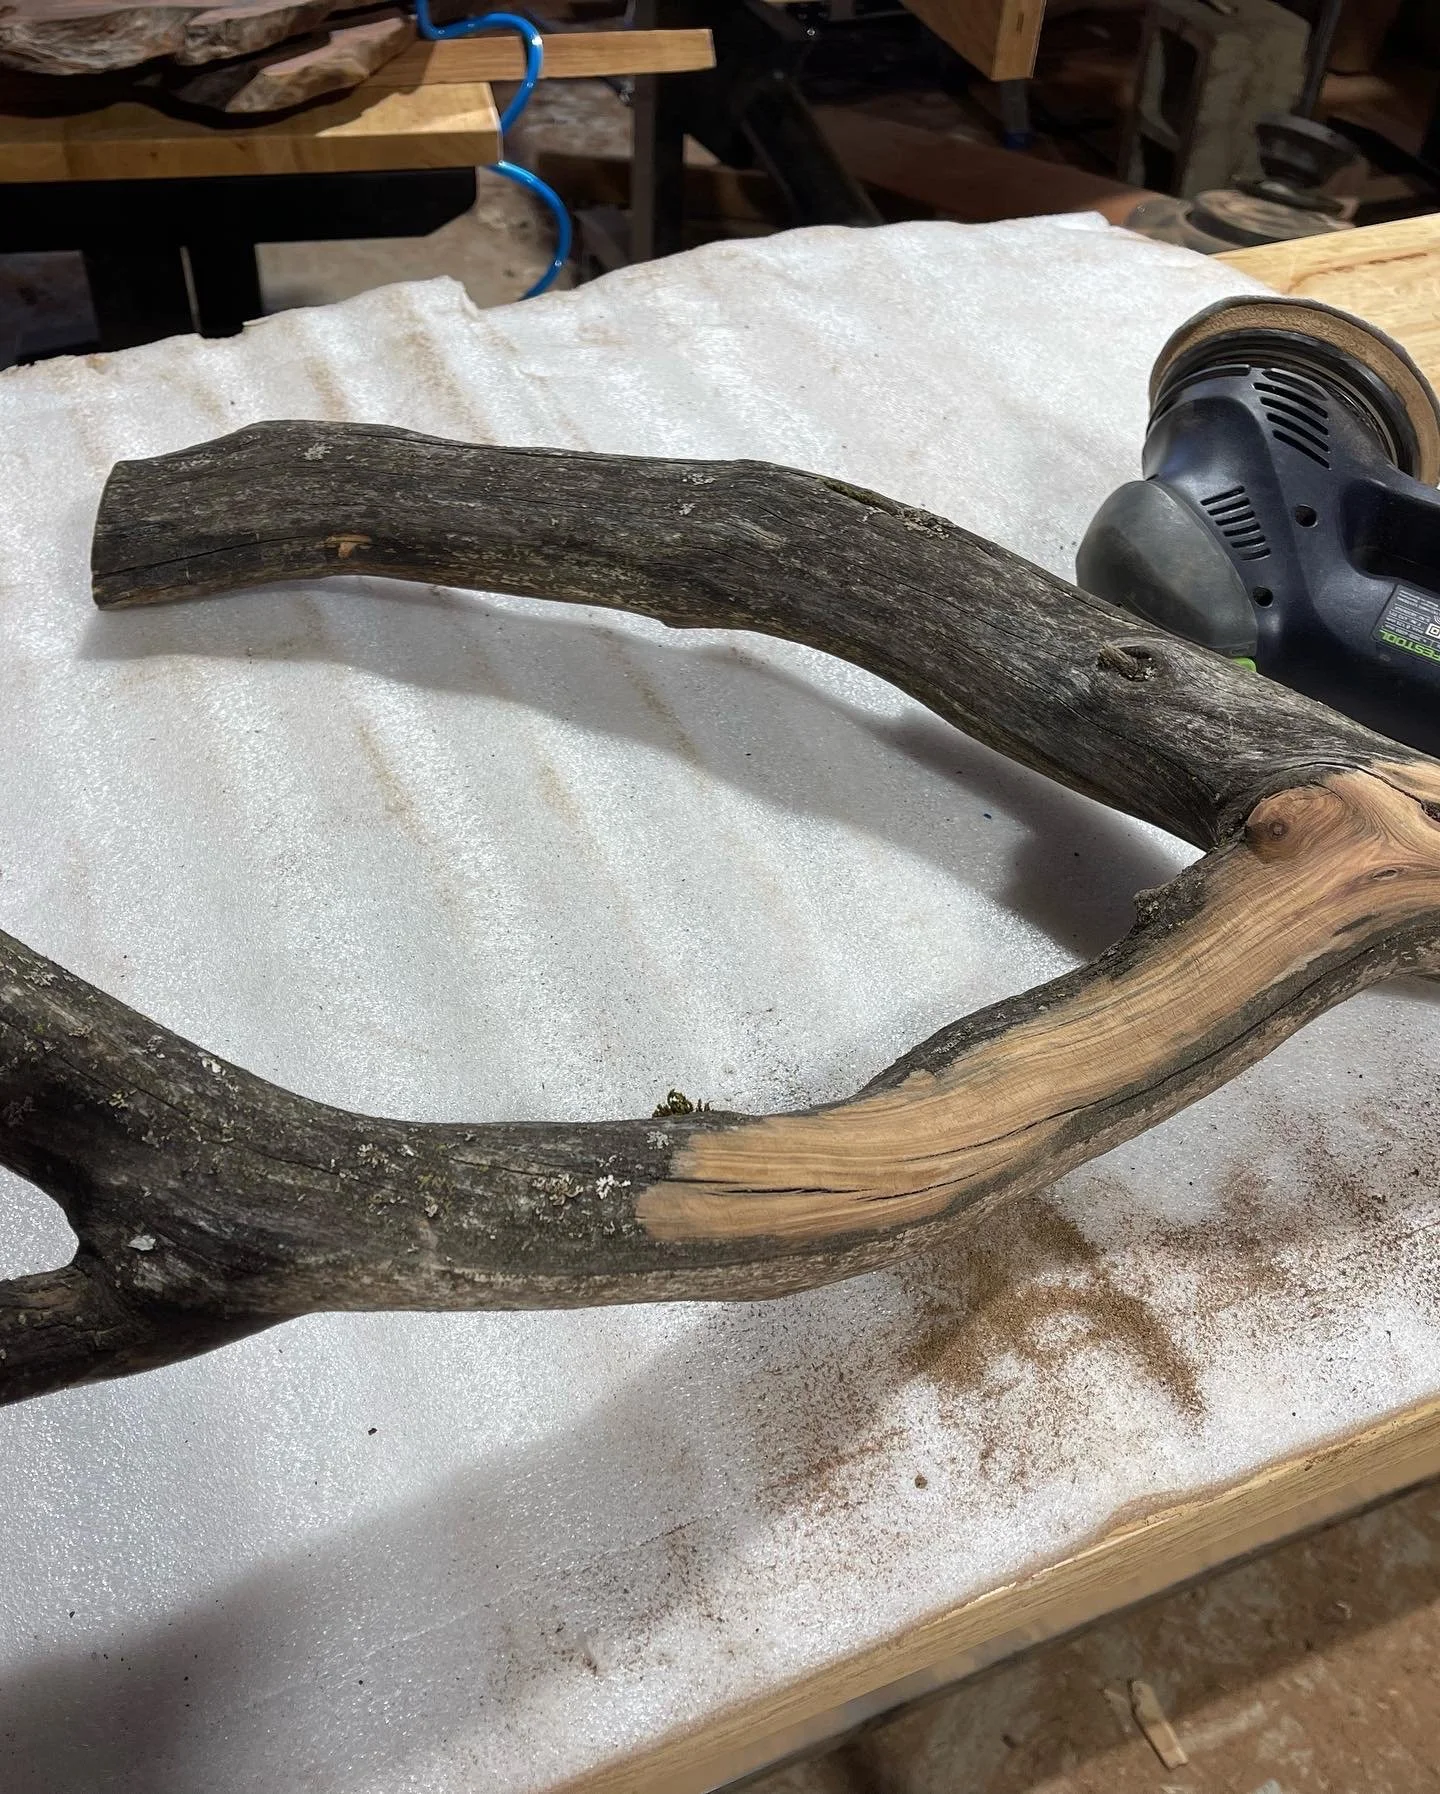

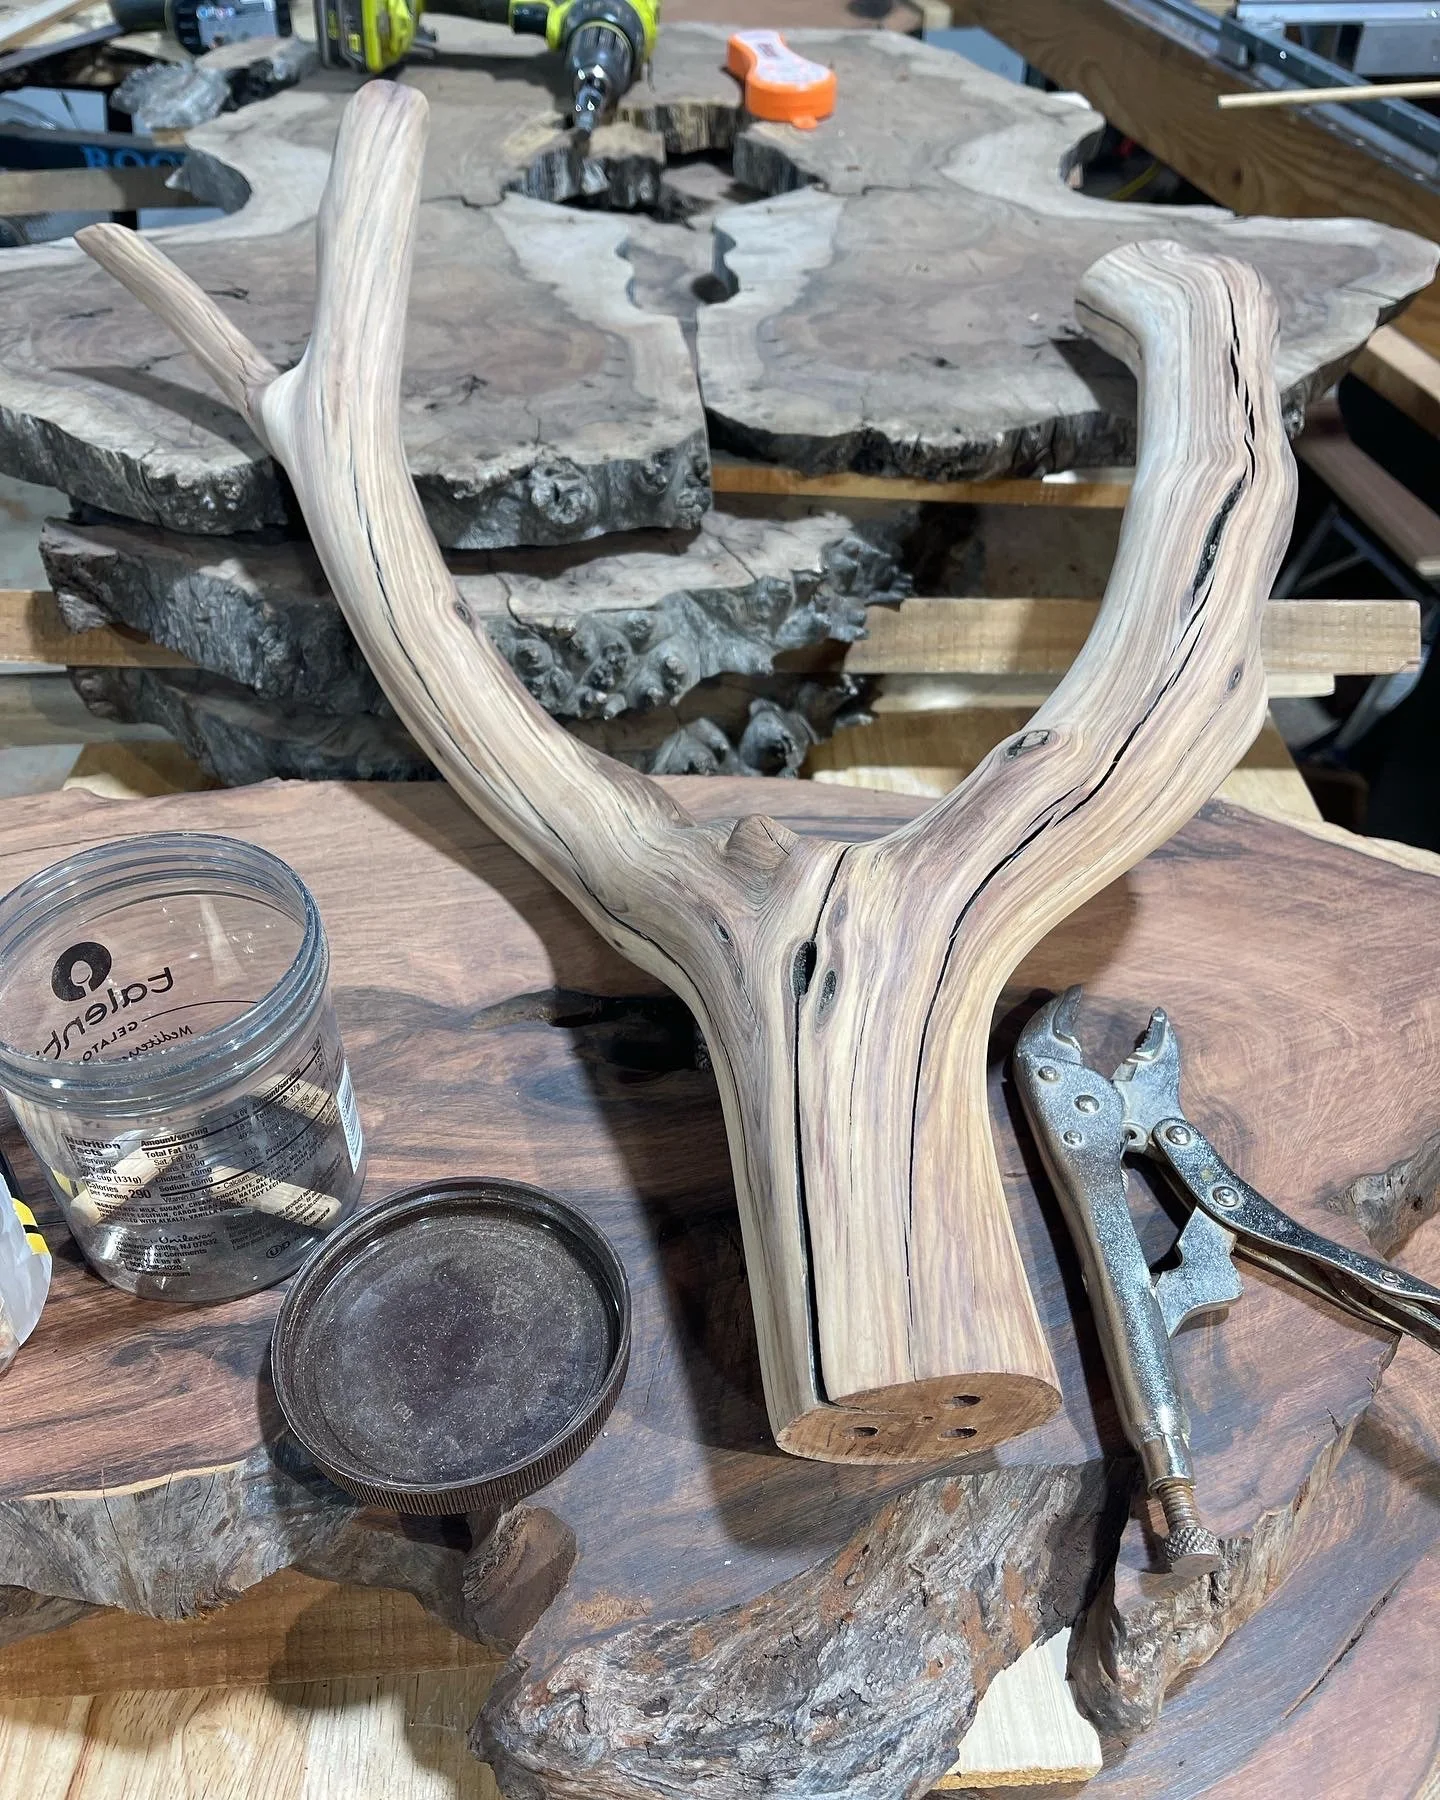
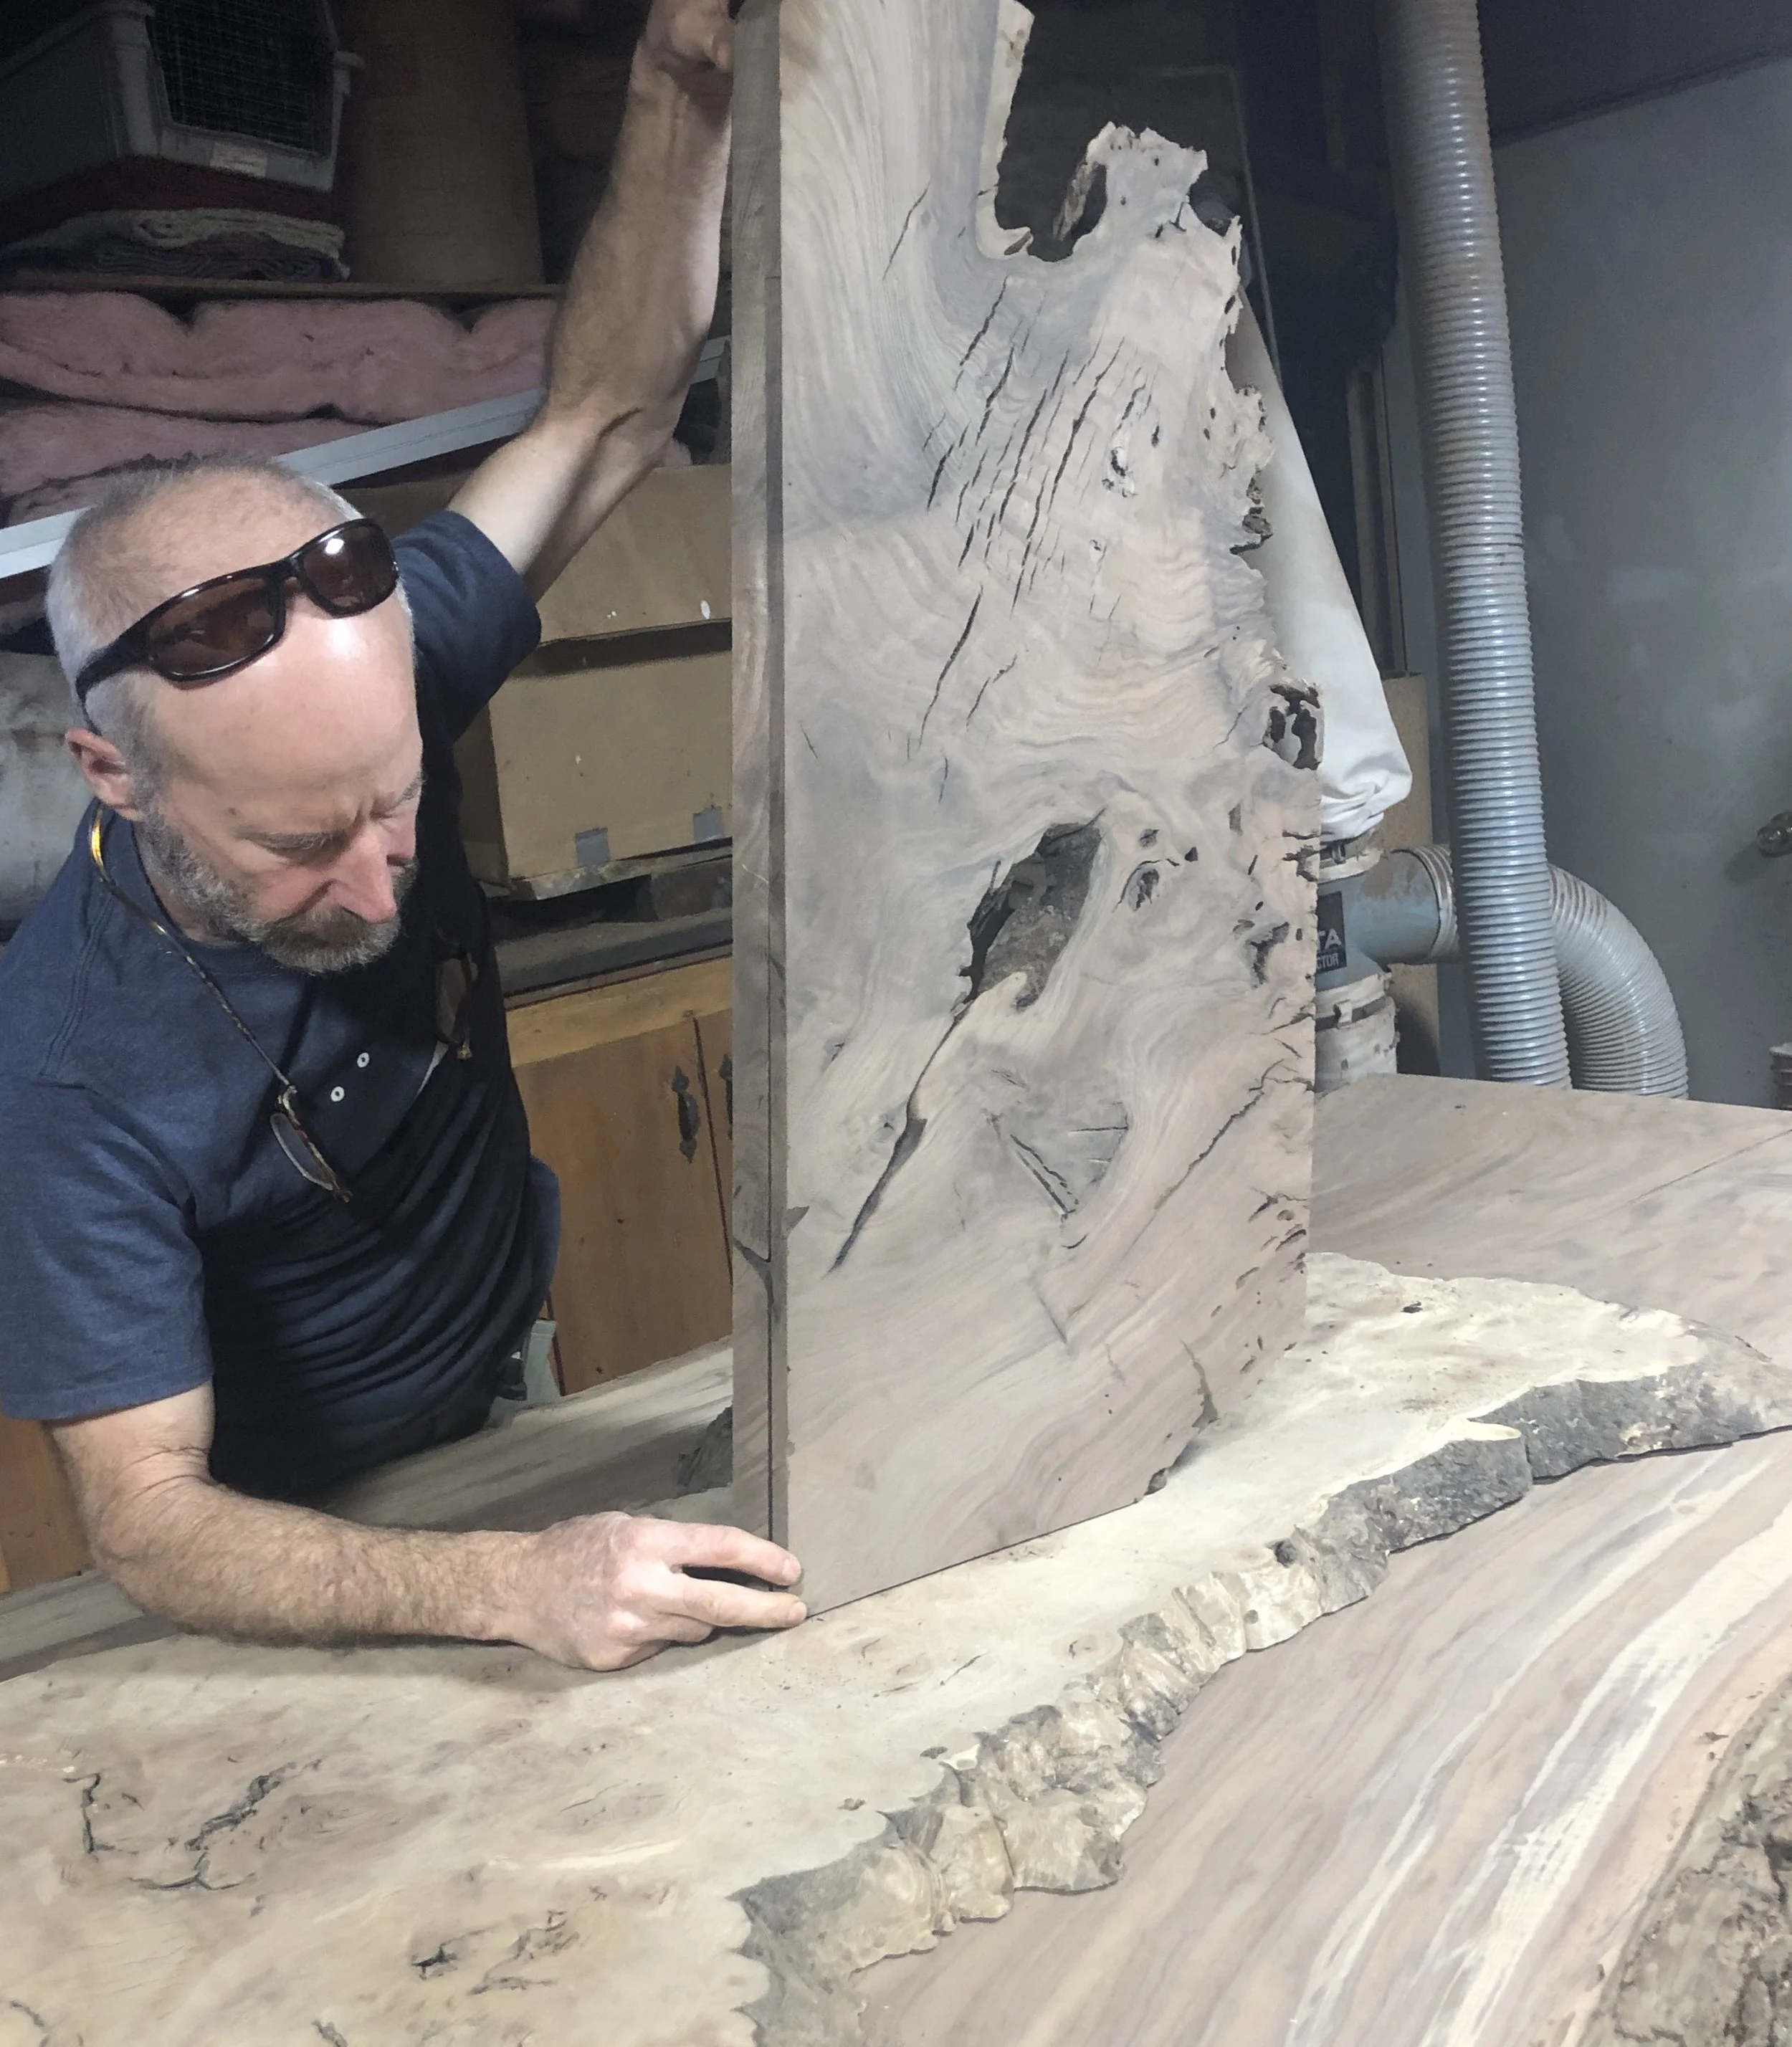
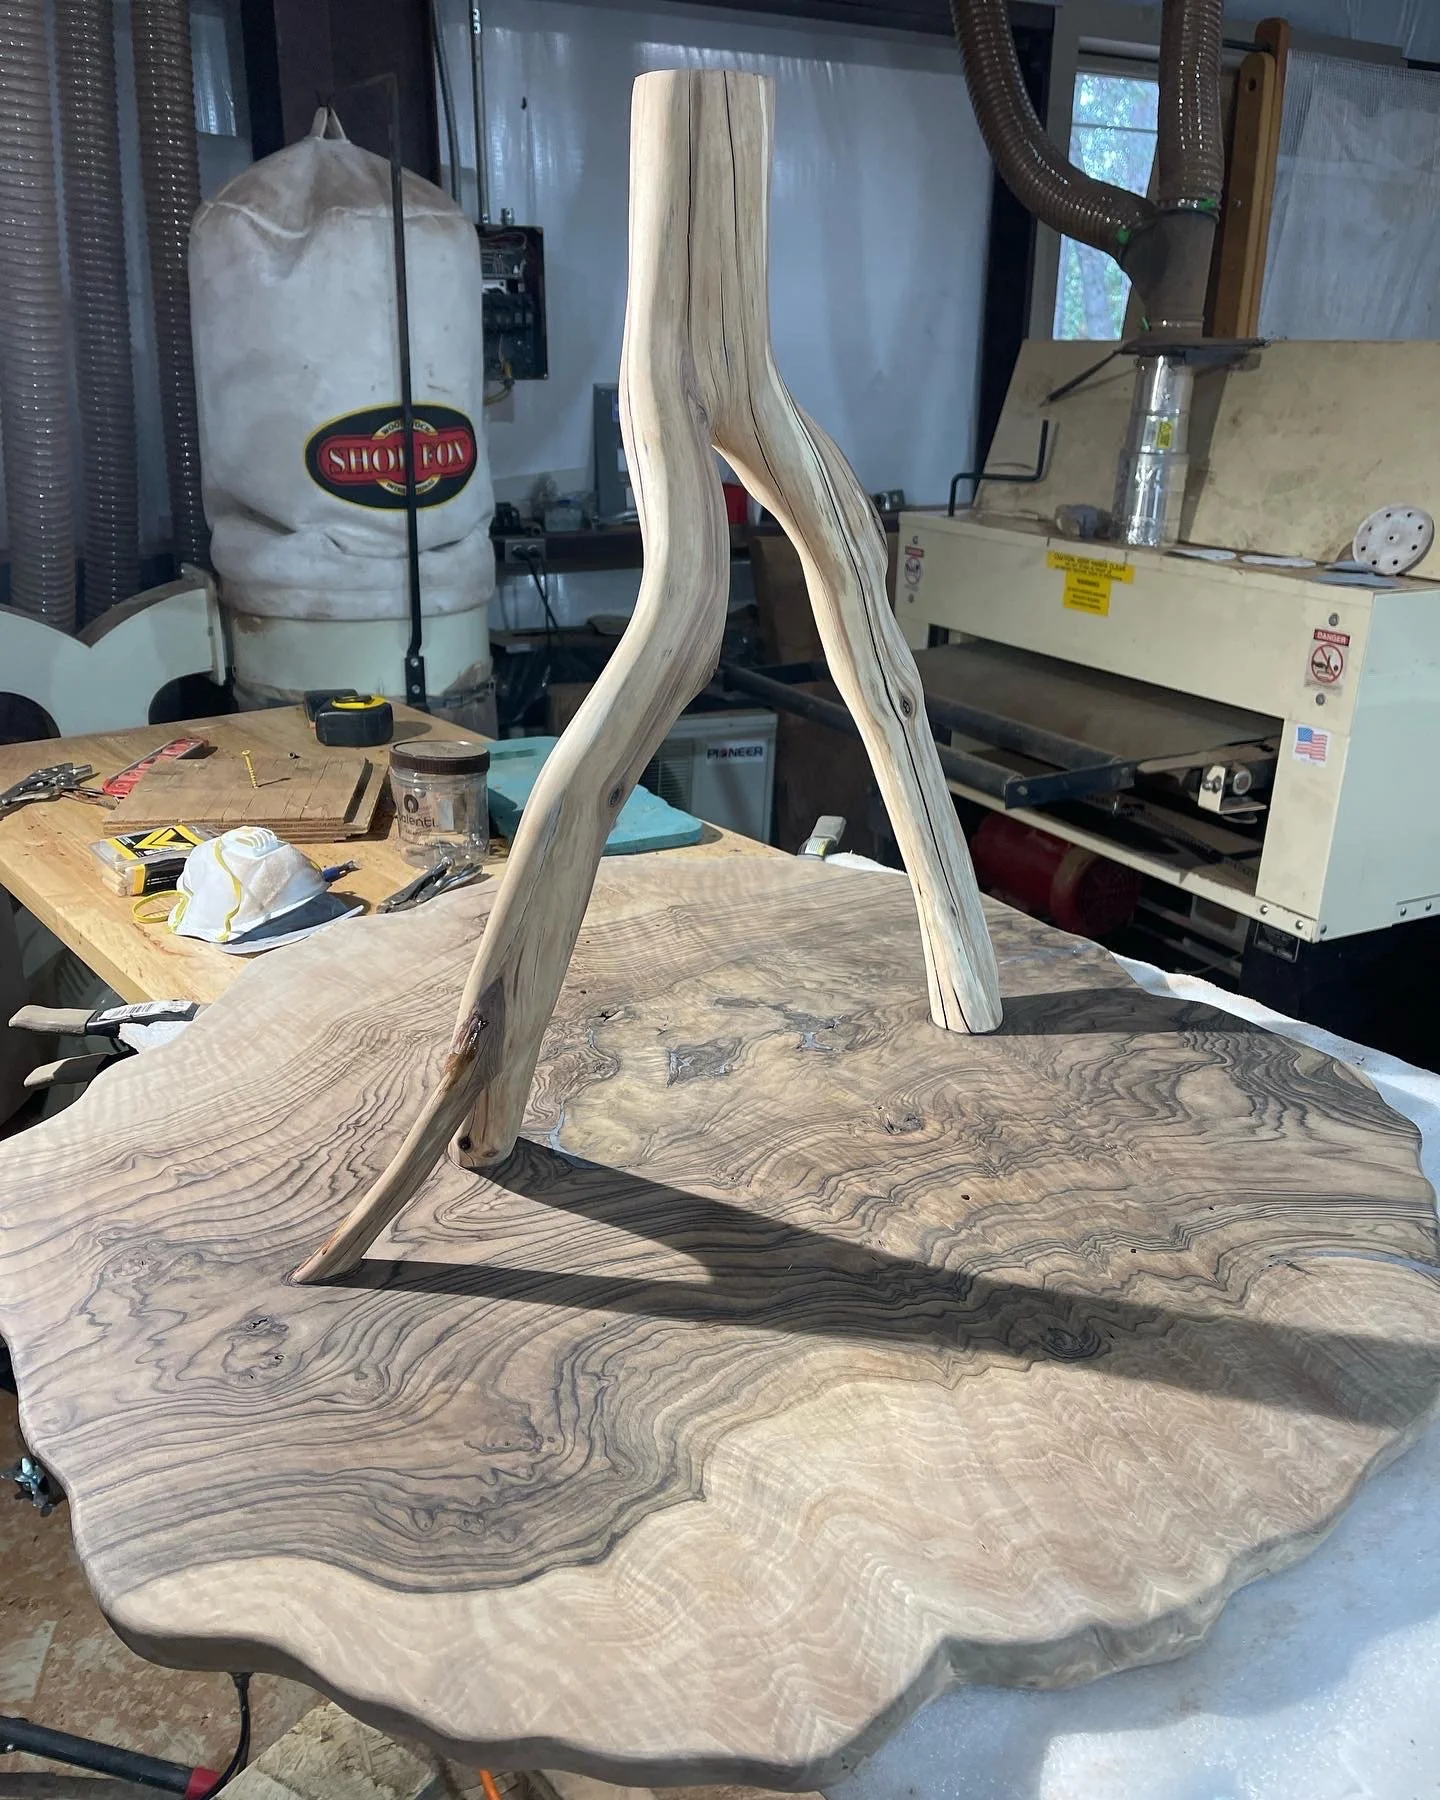
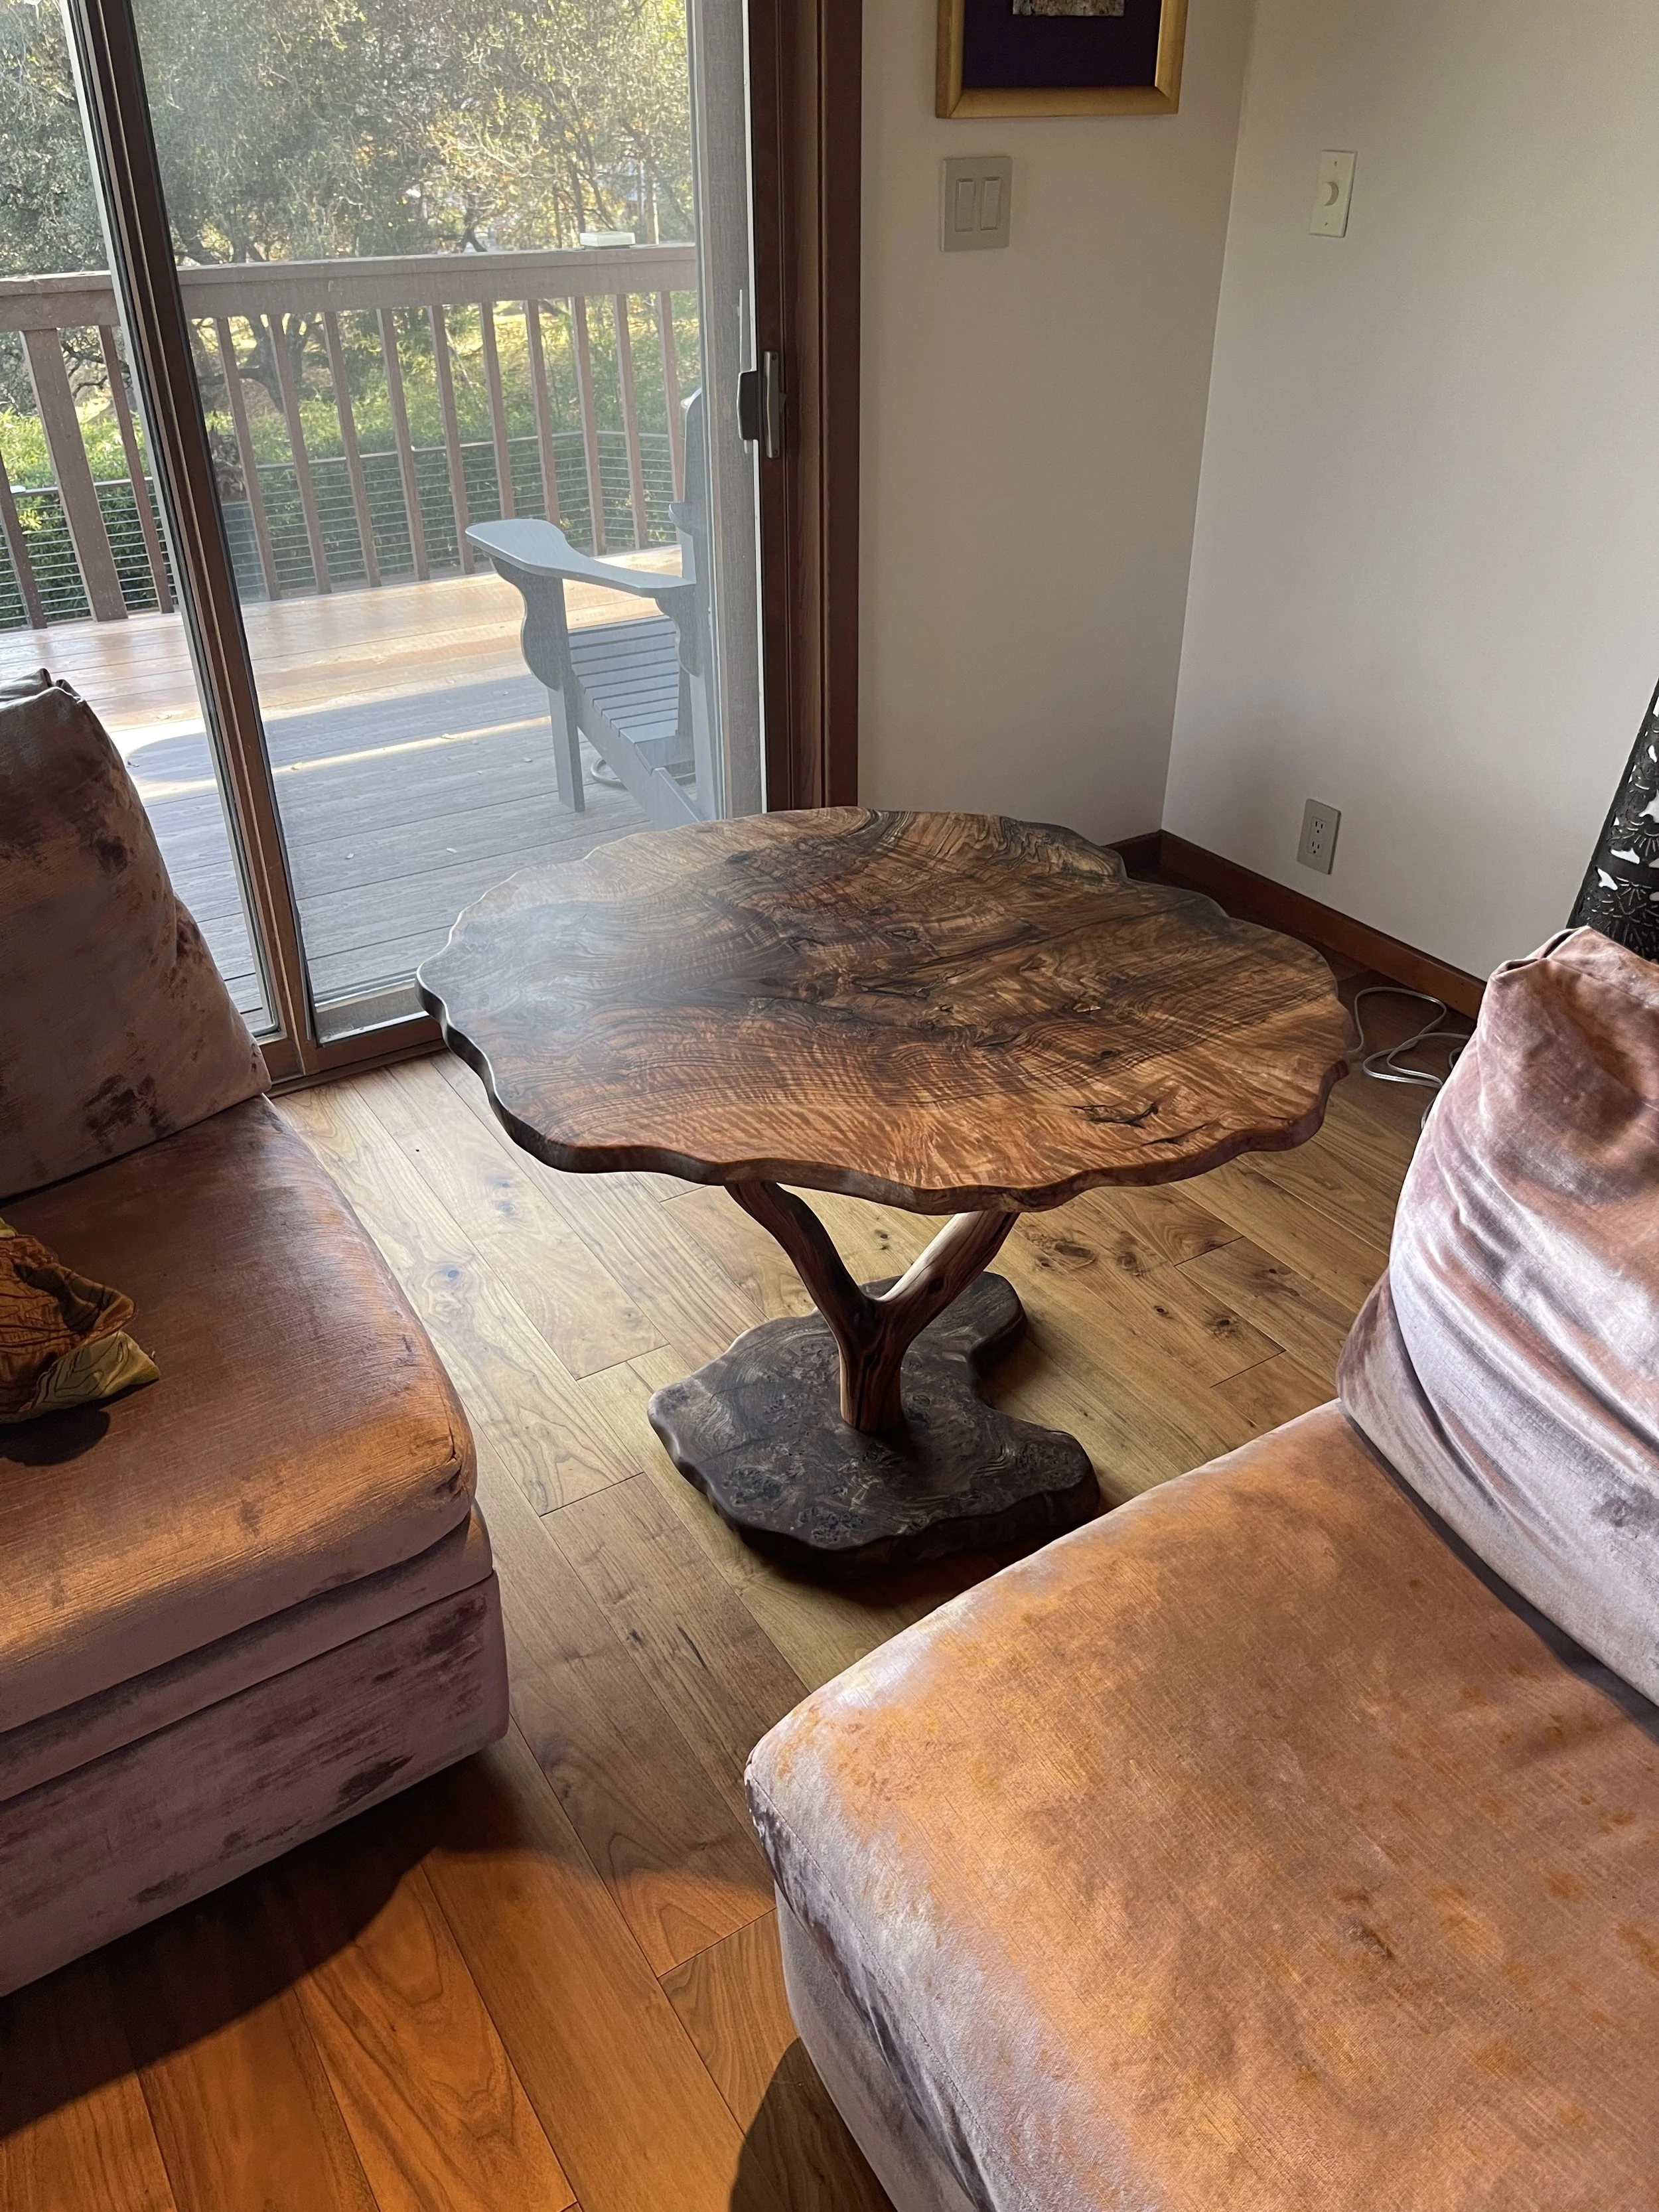
I also like to use wood in its natural state. Trunks and branches often make very interesting table legs and bases. Mixing the natural forms of a piece of wood (perhaps table legs) with other machined wood surfaces (such as a table top) can be quite interesting. The natural exterior surface of wood is quite beautiful, but the interior parts can often rival that. It can be difficult sometimes to decide whether to showcase the outer beauty or the inner beauty. Sometimes I will resaw a natural edge slab, steam and twist the veneers, and then glue them back together in a new form. The possibilities are endless and require imagination and often a great amount of technical expertise and creative problem solving.
Many of my projects start with an idea that I’m not sure can be done, and often these can take months at a time. I’ll start the project with a general idea and often I’ll reach a point where I’m not sure on the way forward. I usually have multiple projects in progress so I will work on another project in the meantime until I figure out the solution. I’ve learned not to force progress on these creative projects and instead allow a more organic process to unfold. It works well for me and is quite different from my more linear approach in my former career. I have acquired and built many specific tools in order to be able to create my art and this process continues as my ideas evolve.
When I’m creating a commissioned piece, there is a different dynamic than when I am just creating from a sometimes random idea. The obvious difference is that there is another person involved and an expectation of a specific and usually functional piece, and of course usually a mutually agreed upon schedule. In this line of work there is typically an agreed upon understanding and flexibility on exact results (other than physical measurements, etc.). It is inherent in the nature of creating that one has a respect for the evolution of the piece. The natural rough and stained surface of a slab conceals much of what lies beneath. As the grain and color is revealed, shapes may change in order to include or exclude certain features such as knots, voids, rot, etc. Voids may require filling with epoxy, stone, etc. Sometimes voids are left in their original state. Each project is different. I suppose the phrase, ‘artistic license’ is appropriate here. There is a certain openness and trust required in a commissioned piece. Most pieces evolve from the point of conception to the final result. For me this is a big part of the appeal in this type of work. Usually the end result is an improvement of the original concept. Successful projects begin with a clear understanding of the project in mind as well as a general idea of the challenges and opportunities involved. Frequent check-ins and questions are a must. As a contractor I took on mostly smaller projects such as bathrooms and kitchens so have experience working with clients and also a healthy respect for schedules and completing projects in a timely professional manner.